Color correction is a crucial aspect of video editing that can significantly enhance the overall quality of your projects. In this guide, we will explore effective techniques and tools within Filmora to achieve professional-looking color correction. Whether you are a beginner or looking to refine your skills, this step-by-step tutorial will help you navigate the color correction process seamlessly.
Table of Contents

Understanding Color Correction
Before diving into the specifics of Filmora, it’s essential to grasp what color correction entails. Color correction involves adjusting the colors in your video to achieve a balanced and visually appealing look. This process can correct issues with lighting, color shifts, and other discrepancies that may arise during filming.
Good color correction can transform a flat, dull video into a vibrant and engaging piece, making it critical for any video editor. The right adjustments can enhance the mood, tone, and overall aesthetic of your footage.
Getting Started with Filmora
Filmora is a user-friendly video editing software that provides various tools for color correction. To begin, ensure you have the latest version of Filmora installed on your computer. Once you open Filmora, follow these steps:
- Import Your Footage: Start by importing the video clips you want to edit into the Filmora media library.
- Create a New Project: Click on ‘New Project’ to set up your editing workspace.
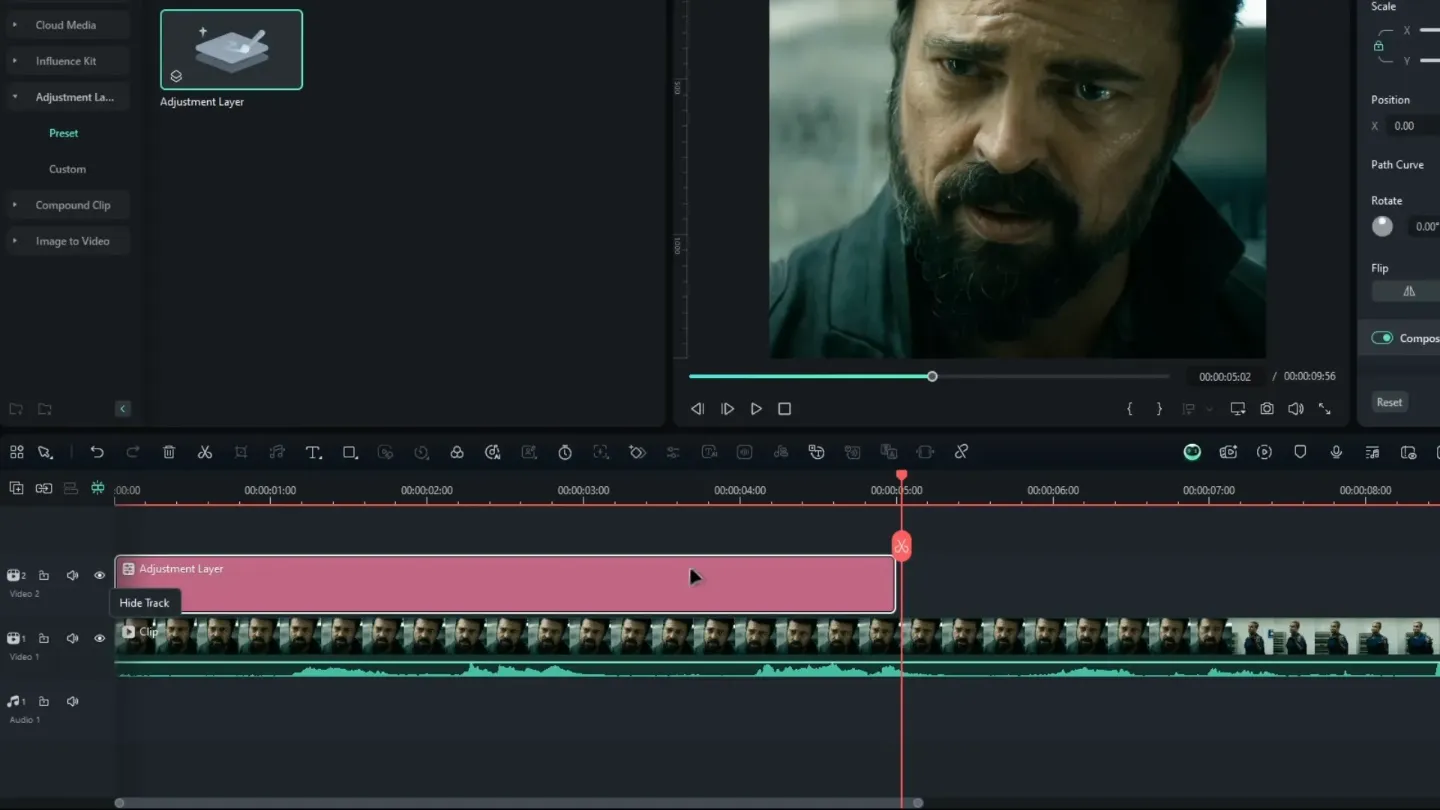
- Drag and Drop Clips: Drag your clips onto the timeline to start editing.
Exploring the Color Correction Tools

Filmora offers a range of color correction tools that are both powerful and easy to use. Here’s a breakdown of the key features you’ll be using:
1. Color Correction Panel
The Color Correction panel is your main hub for making adjustments. You can access it by clicking on the ‘Color’ icon in the toolbar. Here, you will find several essential sliders:
- Brightness: Adjusts the overall lightness or darkness of your video.
- Contrast: Increases the difference between the light and dark areas of your footage.
- Saturation: Enhances or reduces the intensity of colors in your video.
- Temperature: Shifts the color balance towards warmer (yellow) or cooler (blue) tones.
- Tint: Modifies the hue of your footage, allowing for subtle color shifts.
2. Using Presets
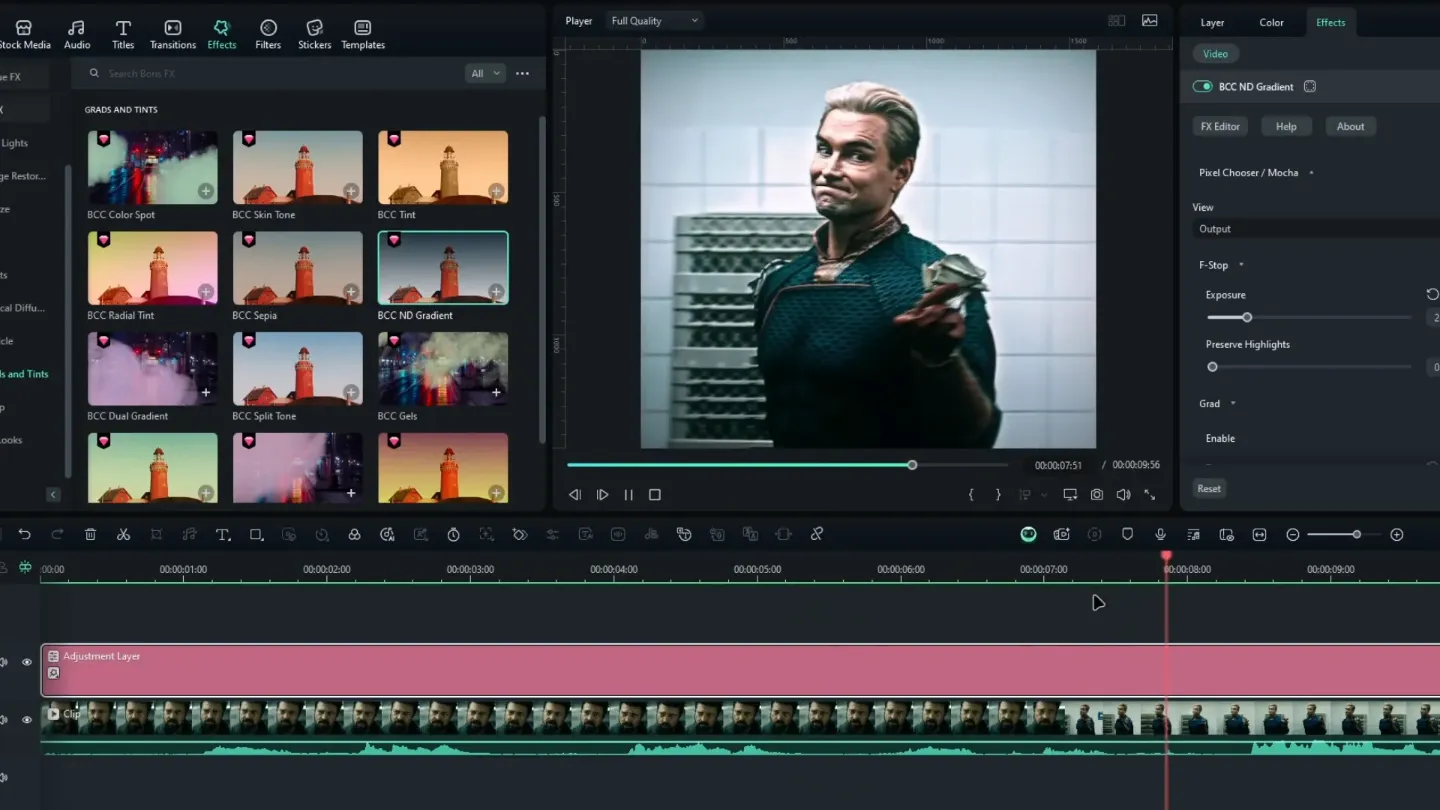
Filmora also includes several built-in color correction presets that can save you time. These presets can be applied to your videos with just one click. Explore these options in the ‘Effects’ tab and apply them to see how they enhance your footage.
3. Advanced Color Grading
If you want to take your color correction to the next level, Filmora offers advanced tools such as:
- Color Wheels: These allow for more precise adjustments to shadows, midtones, and highlights.
- Curves: Use curves to create custom adjustments for specific color ranges.
Step-by-Step Color Correction Process

Now that you’re familiar with the tools, let’s walk through a step-by-step process for effective color correction in Filmora.
Step 1: Analyze Your Footage
Before making any adjustments, play through your video to identify any color issues. Look for areas that may be too bright, too dark, or lacking vibrancy.
Step 2: Adjust Brightness and Contrast
Start by adjusting the brightness and contrast sliders. Aim for a balanced exposure where details are visible in both the highlights and shadows. This step is crucial for establishing a solid foundation for your color correction.
Step 3: Fine-tune Saturation and Temperature
Next, adjust the saturation to enhance the colors. Be cautious not to oversaturate, as this can lead to unnatural-looking footage. After that, tweak the temperature to achieve the desired warmth or coolness in your video. This adjustment can dramatically impact the mood of your footage.
Step 4: Use Color Wheels for Precision
If you are working with more advanced settings, utilize the color wheels to target specific color ranges. This allows for targeted adjustments without affecting the entire image.
Step 5: Apply Presets for Quick Fixes
If time is of the essence, consider applying a preset that closely matches your vision. Presets can be a great starting point, and you can always refine them further.
Step 6: Review and Compare
Once you’ve made your adjustments, take a moment to review your work. Compare the corrected footage to the original to ensure the changes enhance the video without compromising its integrity.
Common Color Correction Mistakes to Avoid

While color correction can elevate your video, certain pitfalls can undermine your efforts. Here are some common mistakes to watch out for:
- Over-saturation: Excessively boosting saturation can make your footage appear unrealistic.
- Ignoring Skin Tones: Be mindful of how your adjustments affect skin tones. They should remain natural and flattering.
- Inconsistent Color Grading: Ensure consistency across all clips in your project to maintain a cohesive look.
Final Touches and Exporting

After completing your color correction, it’s time to add final touches. Consider adding transitions and effects to enhance the overall presentation. Once satisfied, export your video by clicking on the ‘Export’ button. Choose the desired format and resolution to suit your needs.
Conclusion
Color correction is an essential skill for any video editor, and with Filmora, you have powerful tools at your fingertips. By following the steps outlined in this guide, you can achieve stunning results that will make your videos stand out.
Remember, practice makes perfect. Keep experimenting with different techniques and styles to find what works best for your projects.
For more tips and tricks on video editing, follow Ranjan Editz.
