
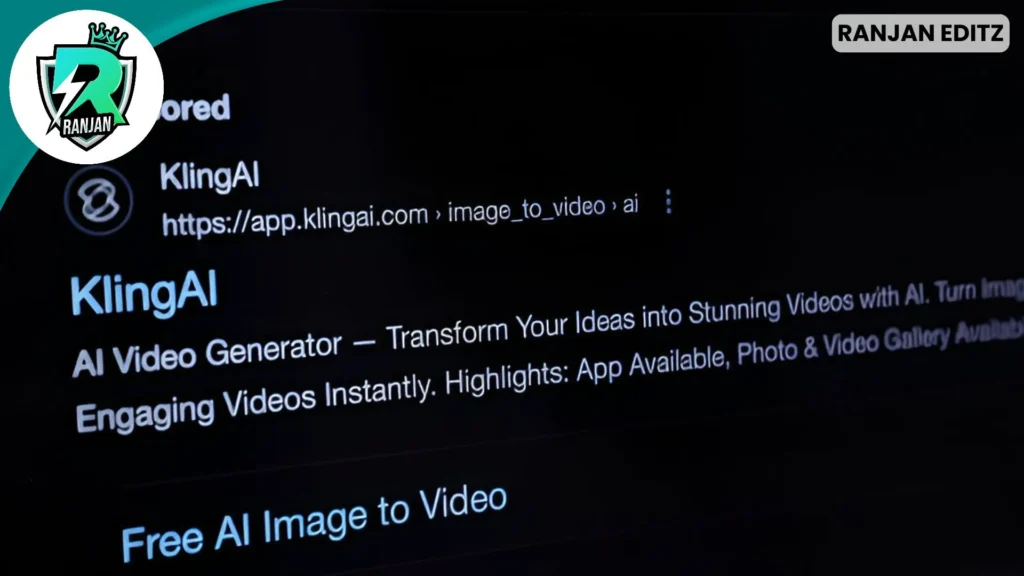
Hey there, my fellow creators and digital dreamers! Ever stared at a stunning photo and wished it could just… move? Like, really move? Not just a subtle pan or zoom, but something genuinely dynamic, alive, and even a little cinematic? Well, let me tell you, that’s exactly where I found myself recently, pondering the possibilities. And that’s when Kling AI waltzed into my digital life.
This isn’t just another tech fad, folks. This is a game-changer. I’m talking about taking your static images and breathing vibrant, motion-filled life into them, all online and without costing you a dime (at least to get started!). In 2025, the world of AI is moving at lightning speed, and Kling AI is absolutely leading the charge when it comes to image-to-video conversion. I’m going to walk you through exactly how I’ve been using it, what I’ve learned, and why you absolutely need to give this a whirl.
Ready to turn those still moments into captivating stories? Let’s dive in!
Why Kling AI is Your New Best Friend for Image to Video Conversion
Let’s be honest, we’re all looking for ways to make our content stand out, right? Whether you’re a budding influencer, a small business owner, or just someone who loves sharing cool stuff with friends, static images sometimes just don’t cut it anymore. I mean, I’ve spent hours meticulously editing photos, only to have them scroll by in a blink.
That’s where Kling AI comes in. It’s not just about adding a bit of shimmer; it’s about transforming a single photograph into a dynamic scene. Imagine you’ve got this incredible shot of a serene landscape. With Kling AI, you can make the clouds drift, the leaves rustle, and even have a gentle stream flow. It’s like bringing a painting to life, and the best part is, you don’t need to be a professional animator or have a monster budget.
From what I’ve seen and experienced, Kling AI truly excels in:
- Unparalleled Realism: Seriously, the motion it generates often feels incredibly natural. It’s not janky or robotic; it’s smooth and convincing.
- Ease of Use: This is a big one for me. I’m no tech guru, and I don’t have hours to learn complex software. Kling AI keeps it straightforward.
- Free Access (with some caveats, but still awesome!): Who doesn’t love free? You can get started and experiment without any upfront cost, which is a massive win in my book. We’ll talk more about the free credits in a bit.
I’ve been playing around with various AI tools for a while now, and many promise the moon but deliver a pebble. Kling AI actually delivers. It’s changed the way I think about repurposing my old photos and creating fresh content.
Getting Started with Kling AI: Your Free Ticket to Motion
Alright, let’s get down to the nitty-gritty. How do you actually access this magical tool for free in 2025? Well, from what I’ve found, Kling AI offers a generous free plan. Now, it’s not unlimited, and it has some limitations (like watermarks and potentially longer processing times), but it’s more than enough to get your feet wet and create some truly impressive kling ai image to video conversions.
Table of Contents
Typically, you’ll get a certain number of daily credits just by logging in. These credits are what you “spend” to generate videos. My advice? Don’t go wild on your first try! Start with simple experiments to get a feel for how the prompts work and what kind of motion you can achieve. Think of these free credits as your training wheels before you decide if you want to invest in a paid plan for more extensive use. And trust me, after seeing what it can do, you might just be tempted!
The Magic Workflow: Converting Your Images to Videos with Kling AI
This is where the rubber meets the road! I’m going to break down the process I follow to transform my static images into captivating videos using Kling AI. It’s surprisingly simple, even for someone like me who sometimes struggles with the simplest tech.
Step 1: Accessing the Kling AI Platform
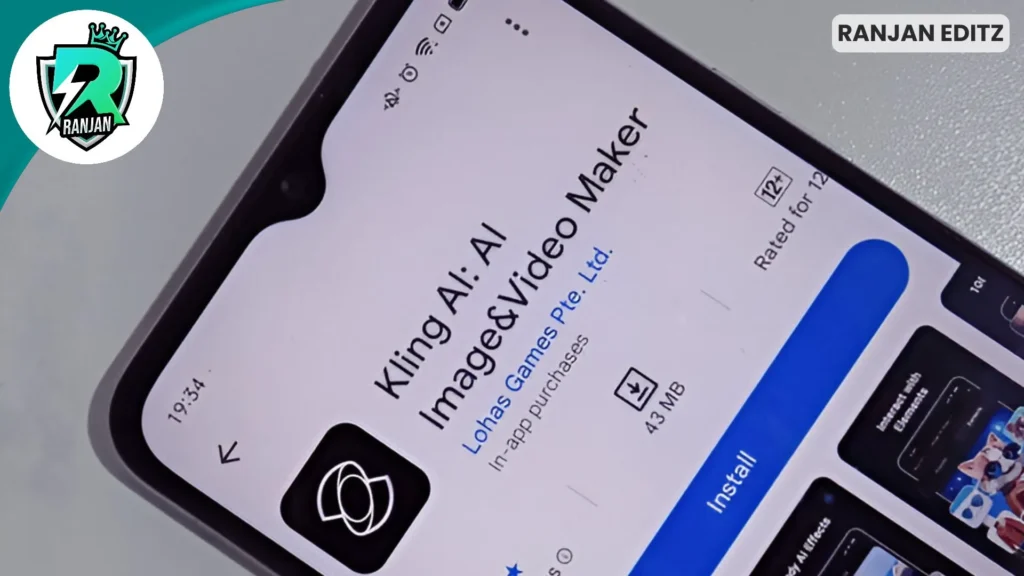
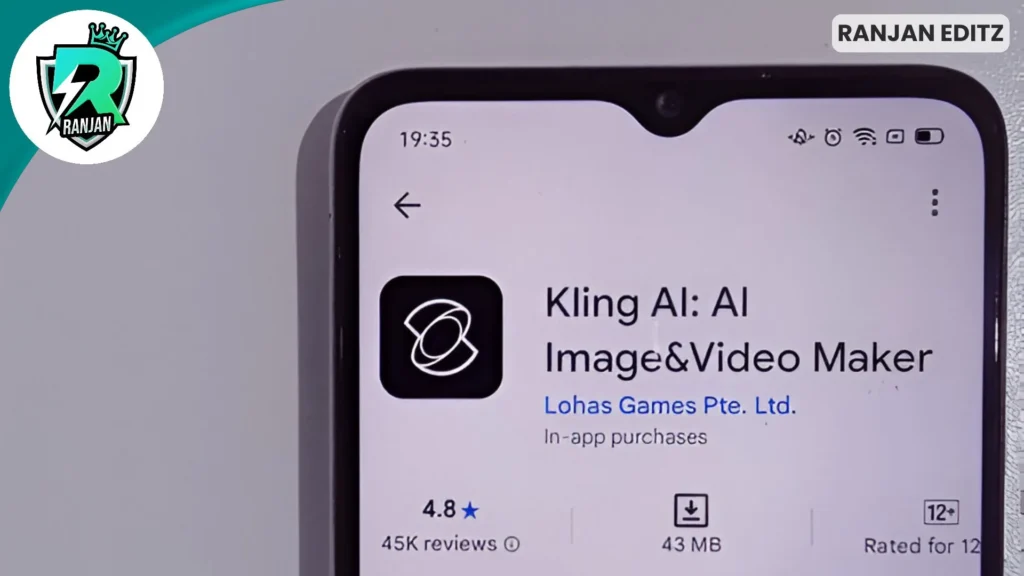
First things first, you’ll need to head over to the official Kling AI website. A quick search for “Kling AI” should get you there. Once you’re on the site, you’ll likely need to create an account if you don’t already have one. This is usually a straightforward process – just an email and a password. Remember, this is where you’ll get your daily free credits, so make sure you log in regularly if you’re planning on using the free tier!
Step 2: Uploading Your Image for Kling AI
Once you’re logged in, look for the “Image to Video” section. It’s usually pretty prominent. This is where you’ll upload the image you want to bring to life. From my experience, high-resolution images with a clear subject tend to yield the best results. Think about it: the AI has more pixels to work with, more detail to analyze, so the output will naturally be crisper. I’ve found that good quality JPG or PNG files work perfectly. Avoid blurry or low-res images if you can, as the AI will struggle to create anything meaningful from them.
Step 3: Crafting Your Vision with Prompts (The Secret Sauce!)
This, my friends, is arguably the most crucial step in the entire kling ai image to video process. It’s where you communicate your creative vision to the AI. Don’t just upload an image and expect magic! You need to give Kling AI some direction.
Think of the prompt as telling a story to the AI. What do you want to happen in the video?
For example, instead of just uploading a picture of a car, I might write something like:
- “A vintage red car, parked on a cobblestone street, with steam gently rising from the engine, and a subtle camera pan from left to right.”
- “A portrait of a woman, her hair gently blowing in the wind, a slight smile forming on her lips, with cinematic lighting.”
Be descriptive! The more detail you provide, the better Kling AI can understand your intent. I’ve found that specifying camera movements (like “zoom in,” “pan left,” “rotate”), environmental elements (“gentle breeze,” “falling snow,” “rippling water”), and even emotional cues (“joyful expression,” “intense stare”) can make a huge difference.
Pro Tip: Don’t be afraid to experiment with negative prompts as well. These tell the AI what you don’t want to see. For example, if you’re trying to animate a peaceful scene but keep getting flickering lights, you might add a negative prompt like “no flickering lights.” It’s all about guiding the AI to your desired outcome.
Step 4: Fine-Tuning Your Kling AI Image to Video Settings
Once you’ve uploaded your image and crafted your prompt, Kling AI usually offers a few settings to tweak. These might include:
- Video Duration: Often, for free tiers, this will be limited (e.g., 5 or 10 seconds). For my initial experiments, I usually stick to the shorter durations to conserve credits and get quicker results.
- Quality Mode: You might have options like “Standard” or “Professional.” The “Professional” mode usually costs more credits but delivers a higher fidelity output. For testing and casual use, “Standard” is perfectly fine.
- Aspect Ratio: This is super important for where you plan to share your video! Options like 16:9 (for YouTube), 1:1 (for Instagram feed), or 9:16 (for TikTok/Reels) are common. I always pick this carefully to avoid awkward cropping later.
- CFG Scale: This one’s a bit more technical, but essentially, it controls how closely the AI adheres to your prompt. A higher value means it sticks very closely; a lower value gives it more creative freedom. I usually start with the default and adjust if the output isn’t quite what I envisioned.
Take a moment to review these settings. They can significantly impact the final kling ai image to video result.
Step 5: Generating and Downloading Your Masterpiece
With everything set, it’s time to hit that “Generate” button! This is where the magic happens. The AI will start processing your request. Now, depending on the current server load and whether you’re on a free or paid plan, this can take anywhere from a few minutes to a bit longer. I’ve had some videos generate in under 5 minutes, and others on the free tier have taken a good 15-20 minutes, especially during peak times. Patience is a virtue here!
Once it’s done, you’ll get a preview of your newly animated video. Watch it, marvel at it, and if you’re happy, hit that download button! Most platforms will allow you to download in common formats like MP4.
My Personal Insights: Tips and Tricks for Amazing Kling AI Results
Having spent some quality time with Kling AI, I’ve picked up a few personal insights that I think might help you get the most out of it:
- Start Simple: Don’t try to animate a complex, multi-subject scene right off the bat. Begin with a single, clear subject and a straightforward action. This helps you understand how the AI interprets your prompts.
- Iterate, Iterate, Iterate: My first few attempts weren’t mind-blowing. But I learned! I tweaked my prompts, adjusted settings, and tried again. Don’t be discouraged if your first kling ai image to video isn’t perfect.
- Think About the “Why”: Before you even upload an image, ask yourself: Why do I want this image to move? What story am I trying to tell? Having a clear purpose in mind will help you craft more effective prompts.
- Leverage External Inspiration: I often look at professional videos or even other AI-generated content to get ideas for motion and camera angles. This sparks my creativity and helps me formulate better prompts for Kling AI.
- Consider the Output Format: If you’re creating for Instagram Reels, make sure you choose the 9:16 aspect ratio. If it’s for a YouTube intro, 16:9 is your friend. Planning ahead saves you editing headaches later.
- Don’t Overdo the Motion: Sometimes, subtle motion is more impactful than wild, exaggerated movements. A gentle breeze through hair, a slow pan across a landscape – these can create a more realistic and engaging feel than trying to make everything jump around.
- Combine with Other Tools: While Kling AI is fantastic for generation, I often pop the generated video into a quick video editor (like CapCut or even the basic editor on my phone) to add music, text overlays, or stitch multiple clips together. It’s about building on the AI’s foundation.
Beyond the Basics: Advanced Kling AI Features to Explore
As you get more comfortable with Kling AI, you’ll discover there’s more under the hood. While the free version gives you a taste, the paid plans unlock some truly powerful features that can elevate your kling ai image to video creations:
- Longer Video Durations: Imagine animating an entire short scene instead of just a few seconds!
- Higher Resolutions (4K in testing!): The ability to generate in 1080p is already great, but 4K is truly next-level for professional-grade content.
- Master Shot and Video Extension: This allows for more complex storytelling, where you can extend existing videos or maintain character consistency across multiple shots.
- No Watermarks: For professional use, removing the watermark is a must.
- Faster Generation Times: If you’re churning out content regularly, waiting less is a huge bonus.
I haven’t personally gone deep into all the paid features yet, but knowing they’re there for when I need them is a comforting thought. It shows that Kling AI is constantly evolving and pushing the boundaries of what’s possible.
Kling AI vs. The World: How It Stacks Up
In the rapidly expanding universe of AI video generators, Kling AI definitely holds its own. I’ve dabbled with alternatives like Runway ML, Pika, and even seen demos of Sora, and each has its strengths.
- Runway ML is fantastic for a broader suite of AI video editing tools, but sometimes feels a bit more complex for simple image-to-video conversions.
- Pika is great for quick, short clips and has a fun, intuitive interface.
- Sora, while incredibly impressive in its demonstrations, isn’t widely accessible yet, and when it is, it’s likely to come with a hefty price tag.
What sets Kling AI apart for me, especially for kling ai image to video tasks, is its balance of quality, user-friendliness, and that crucial free entry point. It’s like the friendly, approachable genius in the room. It consistently delivers realistic motion, and the prompt adherence is surprisingly good. For someone looking to get into AI video generation without a steep learning curve or significant investment, Kling AI is a clear winner in my book.
The Future is Moving: My Take on Kling AI in 2025
It’s 2025, and the world is buzzing with AI. What seemed like science fiction a few years ago is now becoming commonplace, and Kling AI is a testament to that. The ability to transform static images into dynamic videos online, for free, is not just a cool party trick – it’s a powerful tool for creativity, marketing, and personal expression.
I truly believe that tools like Kling AI are democratizing video creation. You no longer need expensive equipment or specialized skills to tell a compelling visual story. With a good idea, a clear image, and a well-crafted prompt, anyone can become a video creator.
So, if you’ve got those dusty photo albums (digital ones, of course!) filled with potential, or if you’re constantly trying to jazz up your social media presence, I urge you to give Kling AI a try. It’s been an absolute blast experimenting with it, and I’m genuinely excited to see what incredible kling ai image to video creations you’ll come up with. The future of content is moving, literally, and Kling AI is right there, helping us all keep pace. Go on, give it a whirl – you might just surprise yourself!