If you’re looking to add a professional touch to your edits, creating custom watermarks is a fantastic way to do it. In this guide, I’ll walk you through the process of making two popular styles of watermarks using Filmora 14. Let’s dive right in!
Table of Contents
Creating a Glow Reflection Watermark

First, let’s tackle the glow reflection watermark. This style adds a sleek, modern look to your videos. Here’s how to do it:
- Start by adding your complete edit to the timeline. Once you have your edit in place, select it and change it to a compound clip by pressing Alt + G. This step is crucial as it allows you to modify the video later if needed.
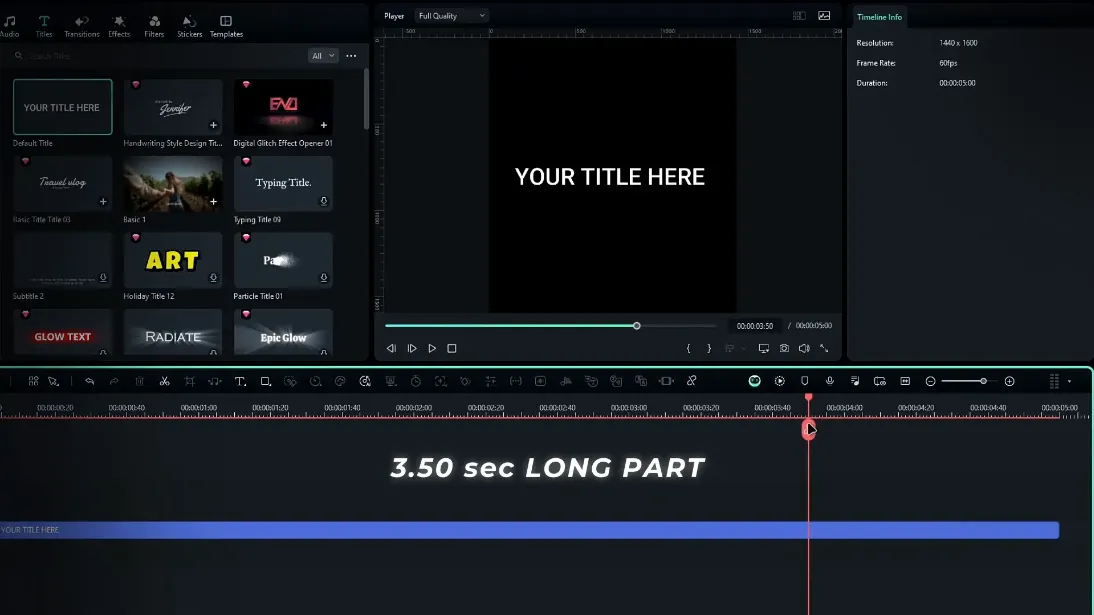
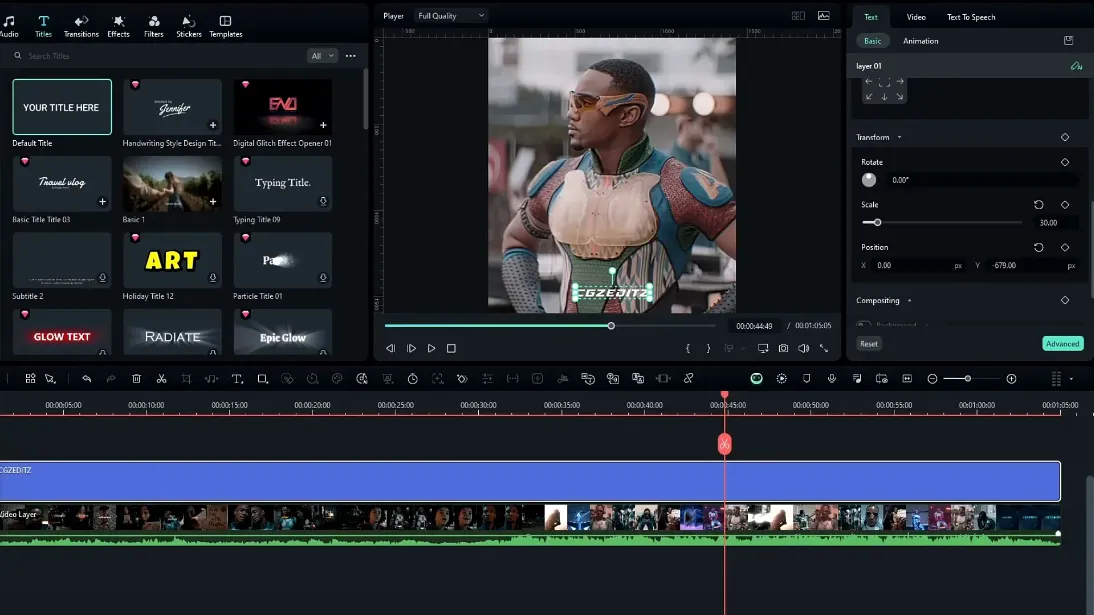
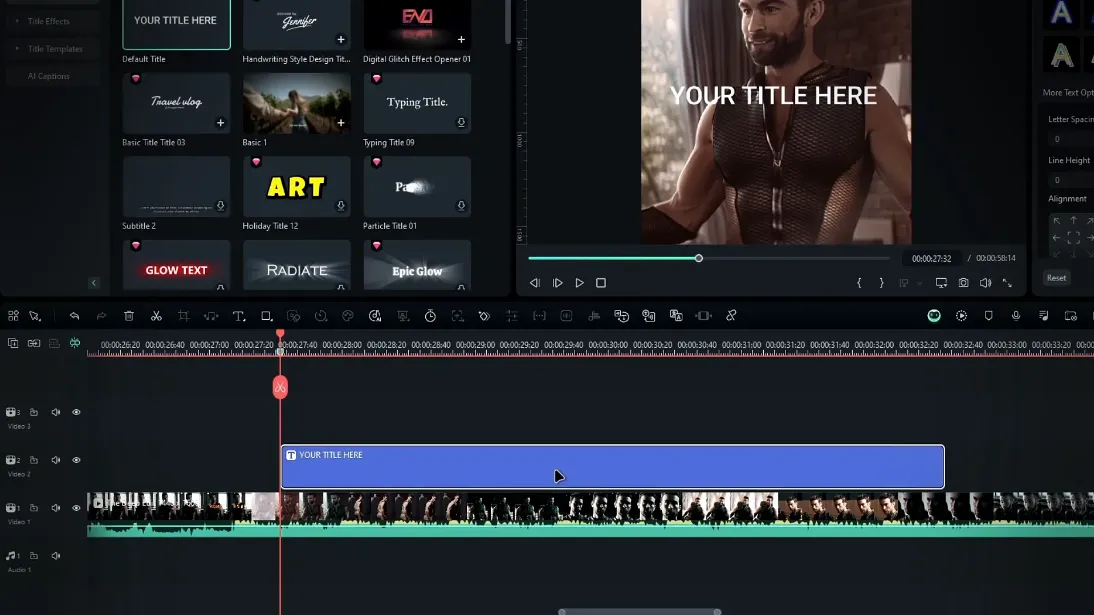
- Next, add a text layer. I recommend using the default title from the text settings. Type your channel or profile name, choose a font style you like, and ensure there’s a slight gap between the letters.
- Adjust the scale and position of the text to fit your design.
- Now, duplicate your video layer and mute the sound on the duplicated layer. Select both the duplicated video layer and the text layer, then convert them into a compound clip named “Watermark.”

- Inside the compound clip, select the video layer, increase its scale to about 150, and flip it upside down. Change the blend mode to “Linear Burn” to see the video layer through the text.
- To enhance the reflection, go to the effects tab and select the Boris FX glow edges effect. Adjust the glow brightness to around 300.
- Next, remove the black background using the chroma key tool. Enable it and select the black area on the video layer. Adjust the settings for the best results.
- Add a drop shadow to the text by enabling it in the basic settings. Set the shadow color to black and adjust the distance and blur as needed.
- Finally, apply the BCC glow effect to the watermark layer and adjust the settings to enhance the overall glow.
And that’s it! You’ve created a stunning glow reflection watermark using Filmora 14. If you need to update your watermark later, just replace the video layer in the compound clip.

Creating a Simple Line Watermark
The line watermark is another excellent choice for editors looking for simplicity. Here’s how to create it:
- Start by adding the default title to the timeline and convert it into a compound clip.
- Select the text layer and customize it to your liking. After that, add a white line by going to stock media and selecting a white color. Adjust the scale settings to create a line effect.
- Now, animate the line by creating keyframes for the Y scale. Start with a value of zero and animate it to grow over time.
- To make the line move to the right, create another keyframe and adjust the position accordingly.
- Once the line is animated, duplicate it to create a second line that will serve as a disappearing effect for the text.
- Convert the text layer to a compound clip again and use the image mask effect to animate the text appearing and disappearing in sync with the lines.
- Finally, adjust the key graphs to ensure smooth animations and add finishing touches like drop shadows and glow effects.

Advanced Watermark: Ranjan Editz Style
For those looking for something more advanced, let’s create a watermark inspired by Ranjan Editz:
- Start by adding a text layer and split it into eight parts to create a glitch scale effect.
- Customize each text layer with different font styles, ensuring to adjust their positions and scales for a dynamic look.
- Add gaps between the letters and apply a random disappearance animation to the last text layer.
- Create a drip effect for one of the letters by duplicating the layer and using an adjustment layer with distortion effects.
- Animate the drip effect and adjust keyframes for a fluid movement.
- Finally, add finishing effects like drop shadows and glow effects to complete the look.
With these steps, you can achieve a professional-grade watermark that enhances your edits in Filmora 14.
For more tips and tricks on video editing, follow Ranjan Editz(www.ranjaneditz.com)
Now that you know how to create stunning watermarks in Filmora 14, go ahead and give your videos the professional touch they deserve!
