Today, we’re diving into the art of Face tracking video Editing in Adobe After Effects. This technique is essential for adding dynamic elements to your videos, whether it’s for creative effects or stabilizing footage. Let’s get started!
Table of Contents

Step 1: Import Your Clip
First things first, you need to add your clip to After Effects. For this tutorial, I’m using a clip in its original resolution and frame rate. Once you’ve imported your clip, it’s time to set up for tracking.
Step 2: Open the Tracker Panel
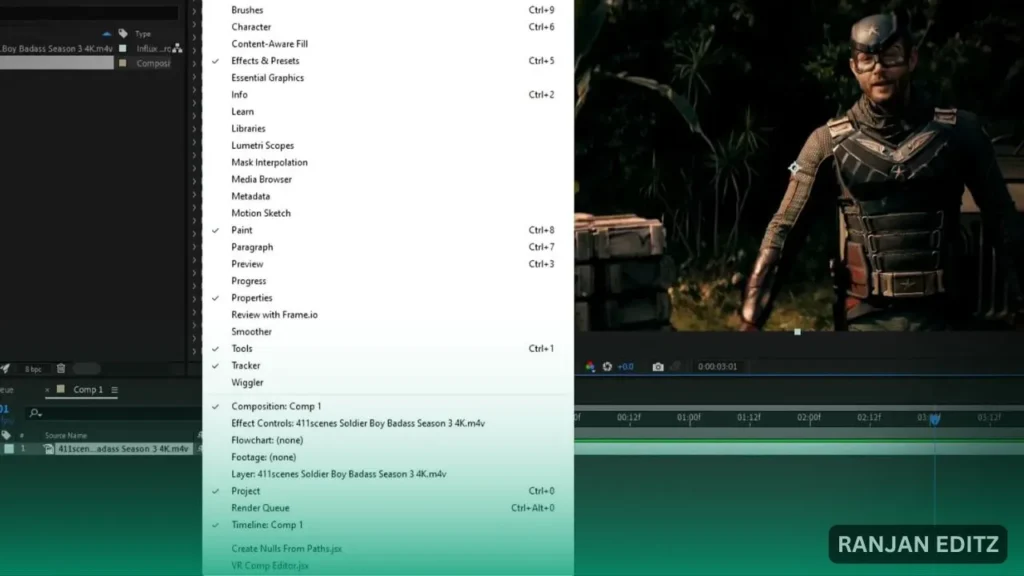
Face over to the tracker panel. If you can’t find it, simply go to Window and ensure that Tracker is checked. Select your clip and bring the play Face to the start. Make sure your preview quality is set to full.
Step 3: Start Face Tracking
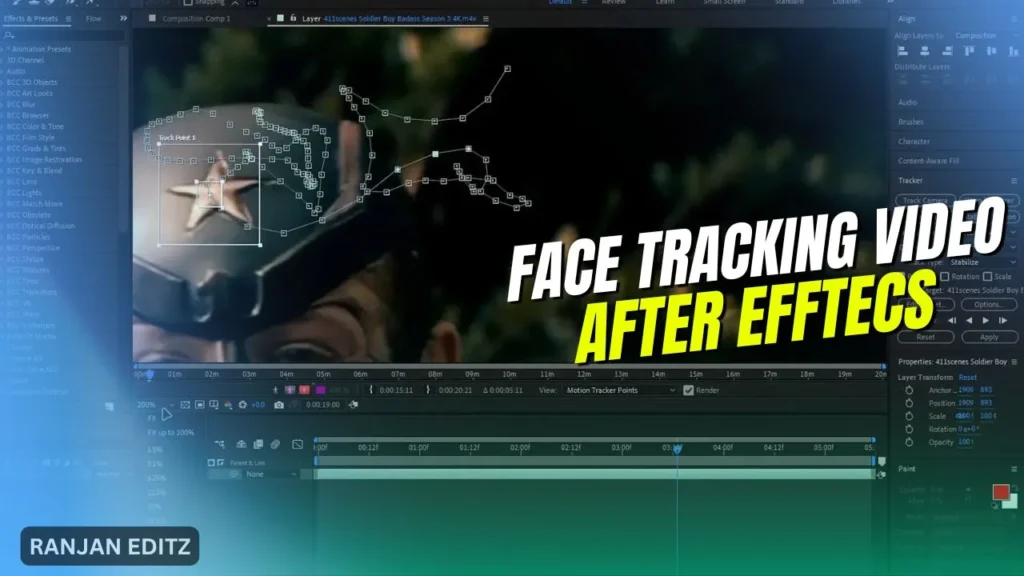
Now, in the tracker panel, select Stabilize Motion to kick off the face tracking process. A tracking box will appear. Position this box over your tracking point, which could be the character’s face or a distinct feature like a badge. Remember, the larger the tracker box, the more accurate the tracking will be, but it will also take longer to process.

Step 4: Adjust Tracking Settings
After setting up the tracker, change the tracking type to Position Only. Go to Options and set the adapt feature to Stop Tracking to prevent the tracker from drifting off if it loses the target. Once you’re ready, click the play icon to start tracking.
Step 5: Review Tracking Points
Once the tracking is complete, review the tracking points. If anything seems off, you can manually adjust the points to ensure accuracy.
Step 6: Apply Tracking Data
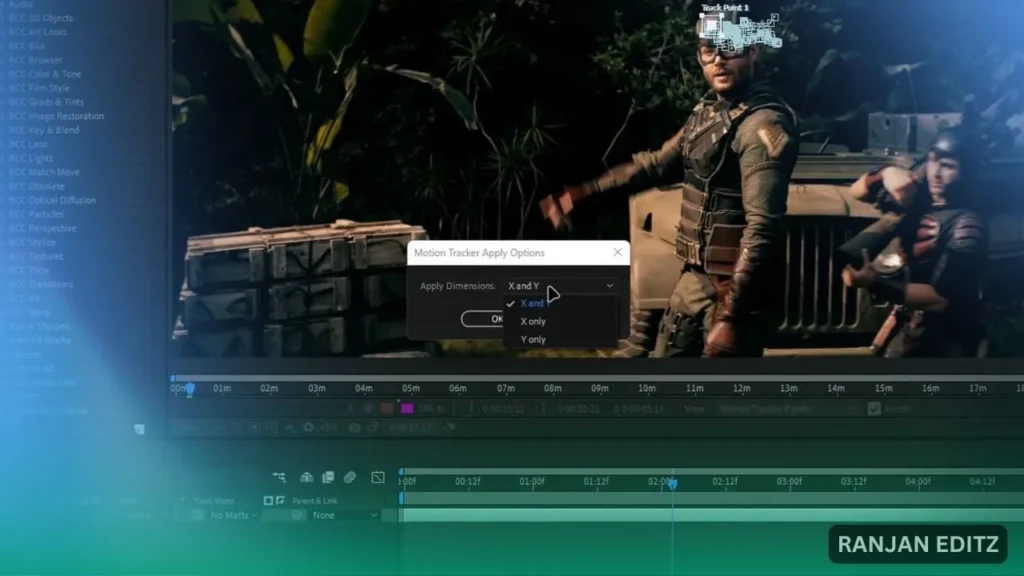
Now, let’s apply the tracking data to the clip. Go back to the tracker panel and click Apply. Set the orientation to both X and Y axes, then hit OK. Voila! You’ve successfully completed the Face tracking part.

Step 7: Set Project Resolution
Next, set your project to the desired editing resolution. Press Ctrl + K to open project settings and input your resolution. For this tutorial, it’s set to 1440 by 1600 at 60 FPS. Adjust the clip’s position as needed.
Step 8: Enable Frame Blending
If your clip appears jittery, you can fix this by enabling frame blending. Click this box twice to activate pixel motion, and consider enabling motion blur for a smoother effect.
Step 9: Fix Black Borders
To deal with any unwanted black borders, increase the scale of your clip. Select the clip, press the S key to open scale settings, and adjust as necessary.

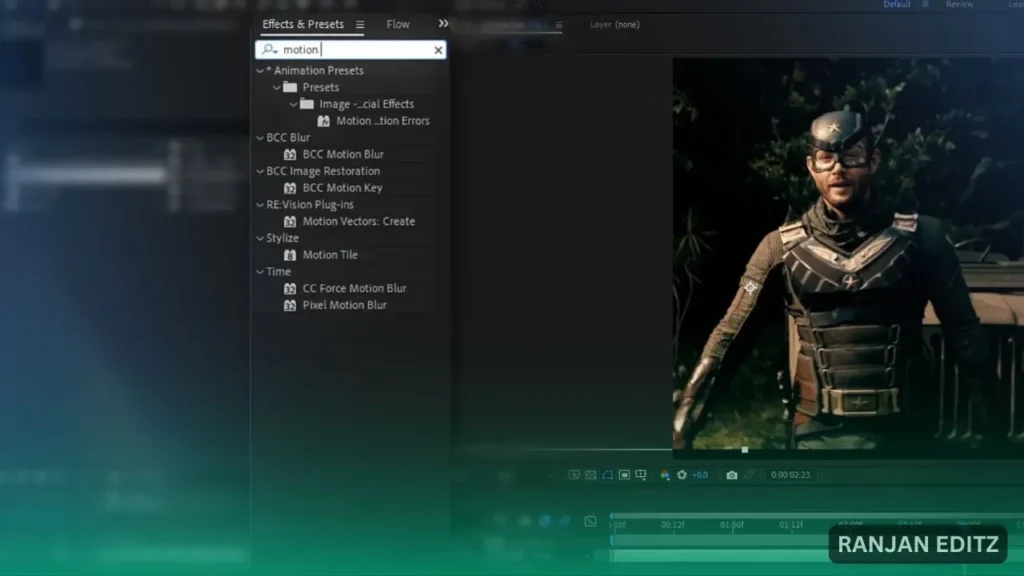
Alternatively, you can use an effect. Go to the effects tab, search for Motion Tile, and apply it to the layer. Set both output width and height to 300 and enable Mirror Edges to fill in those black areas.
Step 10: Precompose the Layer
Finally, let’s precompose this layer. Select the layer and press Ctrl + Shift + C to precompose. If you notice any frames appearing due to frame blending or pixel motion, move forward in the timeline until the frame appears normal, then press Alt + [ to trim the layer.
Conclusion
You’ve successfully performed Face tracking in After Effects. This technique can add a professional touch to your videos, allowing for dynamic graphics and effects that follow the subject’s movements seamlessly.
For more editing tricks and tips, visit Ranjan Editz.
