Introduction
Today in this post I am going to tell you How to Make Flip Transition Edit in After Effects free. I am going to do this without using any kind of plugin. These can also be used for your freelancing project. Happy Birthday video editing can be used for personal video editing and even for promotions. I will create all these only with After Effects software. Let’s see step by step how to Make a flip transition Edit in After Effects.
Table of Contents
After effects Edit
First, create a new composition at the size you need for the project. Three images or videos can be used for this Flip Transition Edit. I am now going to create using images. Put those three image files into the timeline.
Alignment
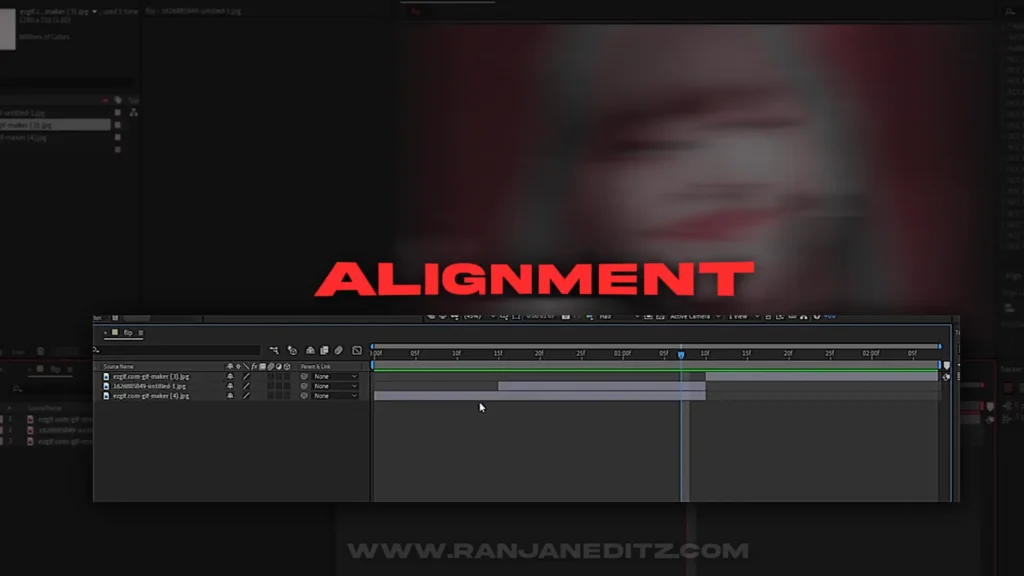
All three media files should be aligned.
- The first image’s duration should be 1:10. The Second image should be kept from 0:50 to duration 1.10.
- The scored image should be kept between 1.1 and 2:08. These three should be fit so they are all over the screen. Now as I said you need to keep your media file.
Next, we need to pre-compose the three image files we used separately. You can even keep the pre-composition name you like. Next, enable the three-footage motion blur.
Flip Transition
1. Layer Footage
Motion Tile
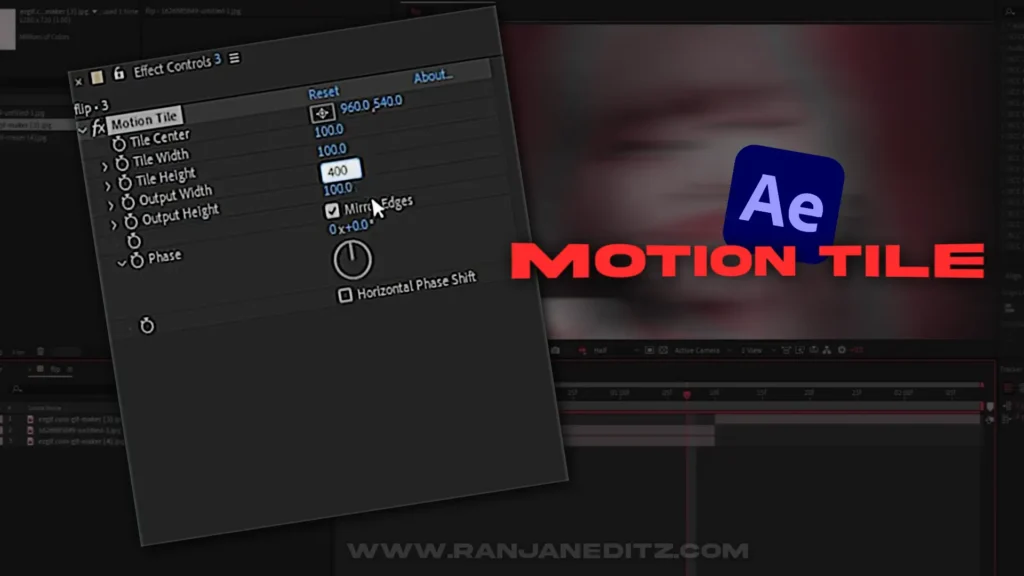
Now we are going to use the motion tile effect. For that, go into effect and preset and put the motion tiles effect on the available footage first. Mirror adjust should be checked in that effect. The output width & height value in it should be changed to 400.
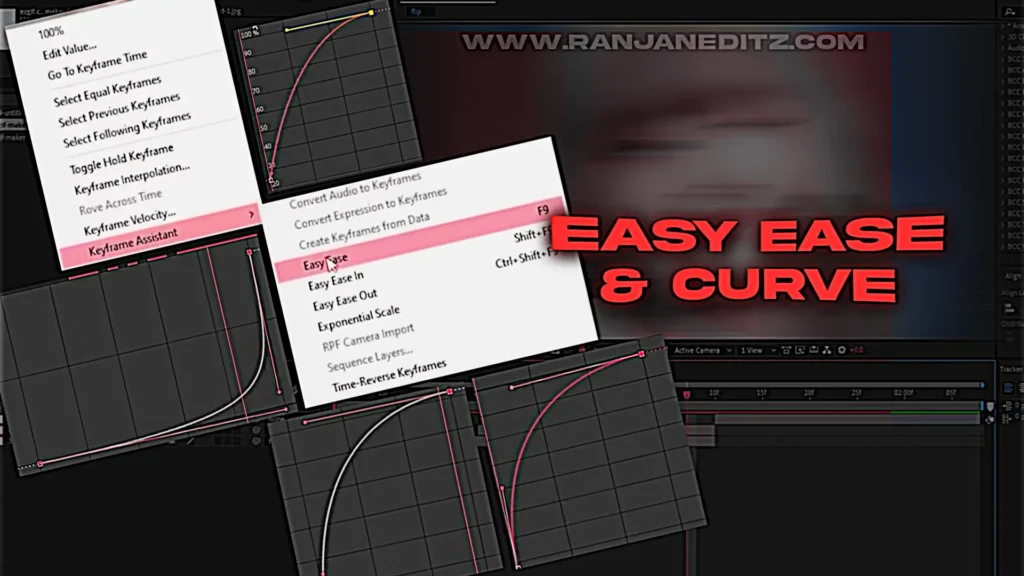
Keyframe and Ease Easy
Now we are going to apply the first resolvable footage keyframe. Now go to the transform option and add keyframe to size. It should be replaced by 0.5 duration. A return keyframe should be added, and its value should be kept at 25. Select two keyframes and do Easy Ease.
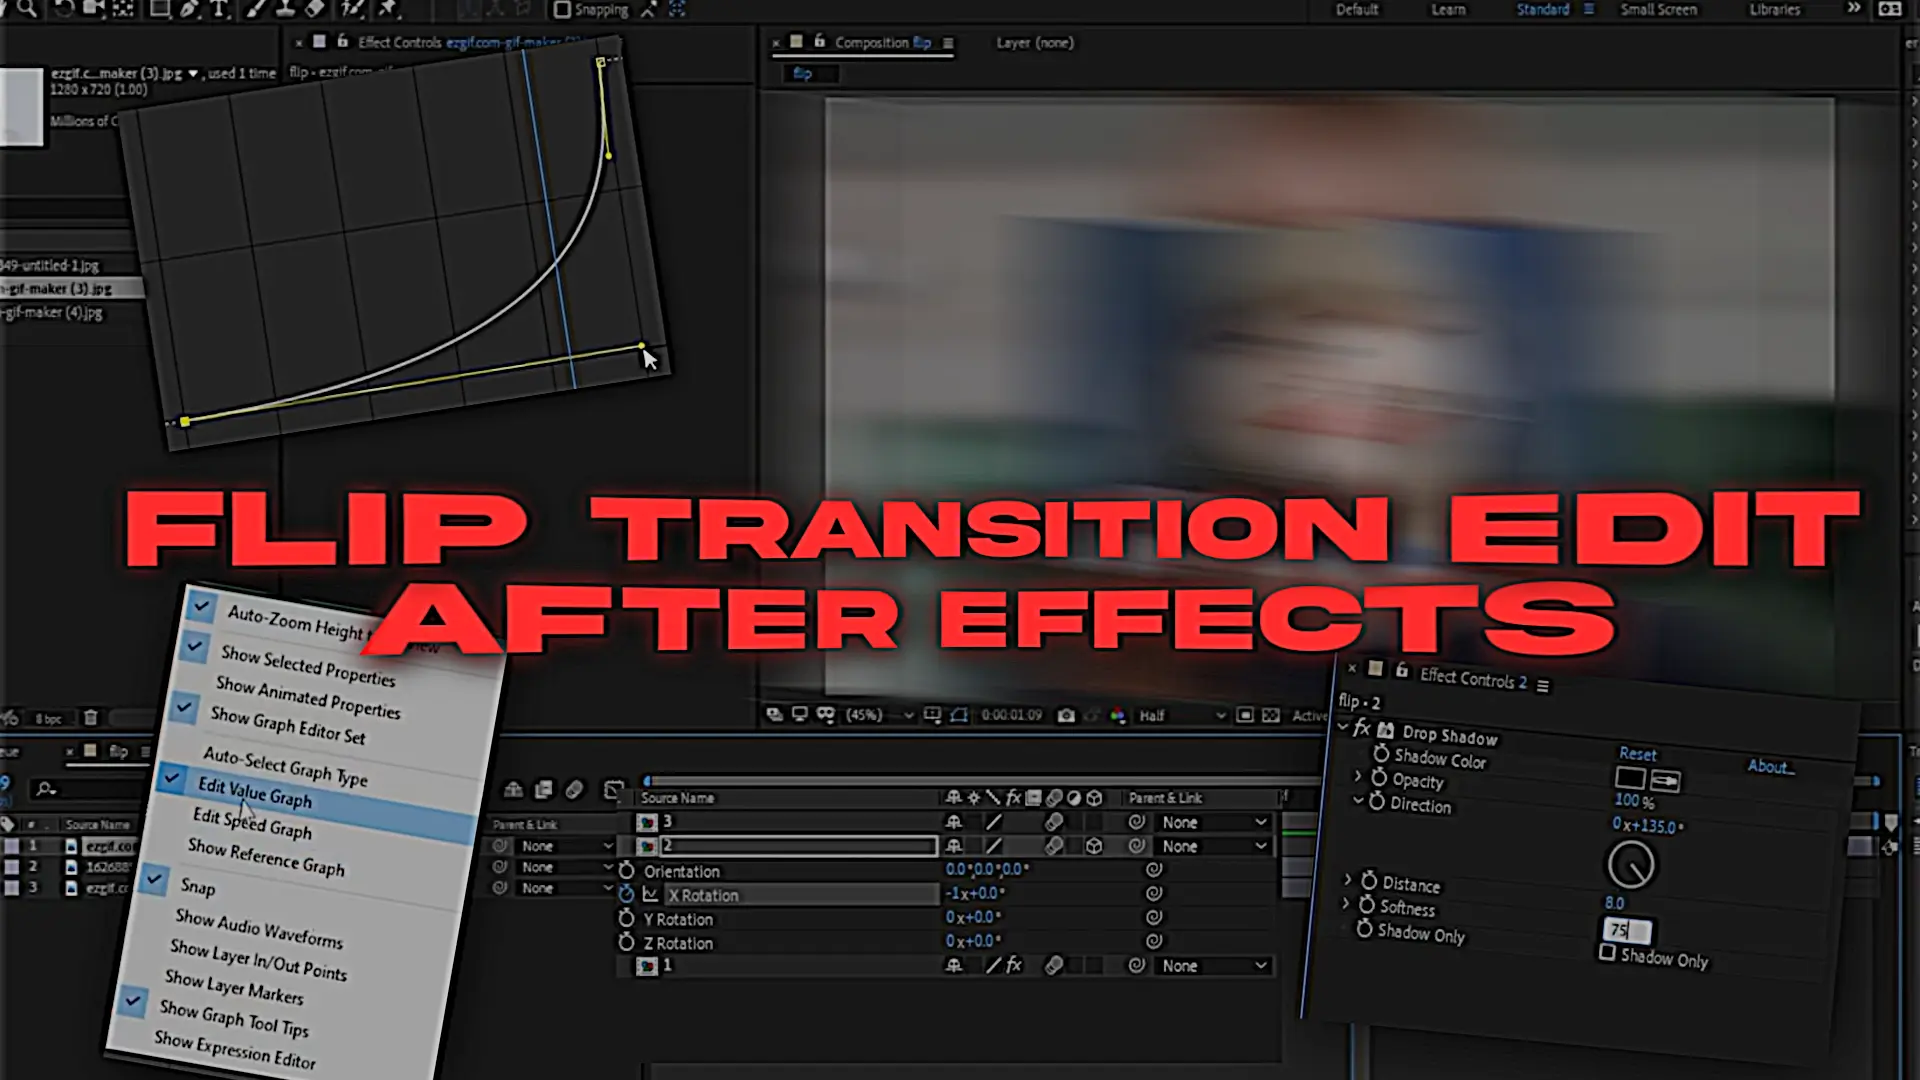
Next, go into the Curve option for the keyframe and change it as shown in the image above. The first possible keyframe should be pushed to the left.
2. Layer Footage
Keyframe and Rotation Edit
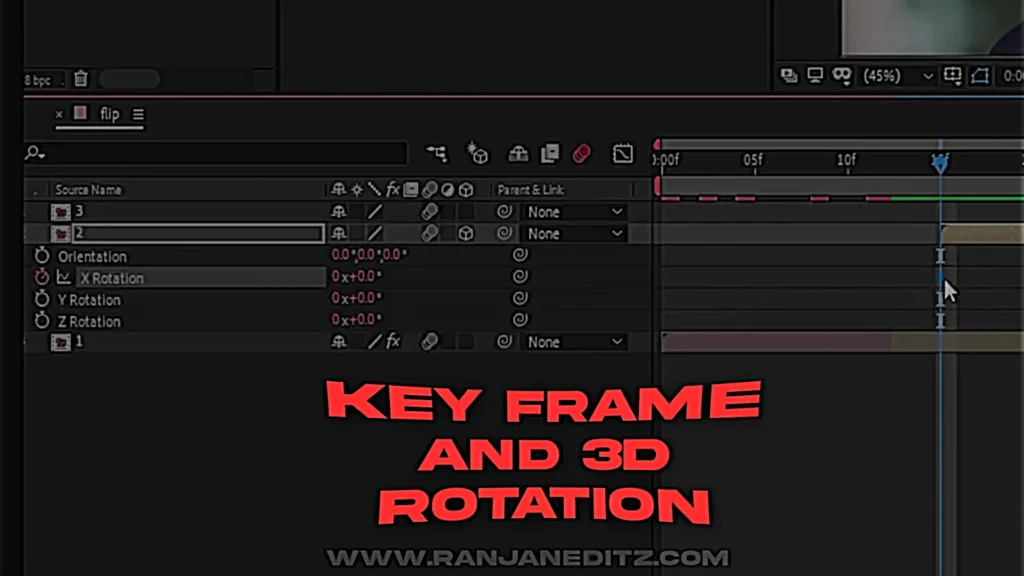
Second, you can add a keyframe to the footage. Before that, its size should be reduced a little. Enable the 3D option for the second pre-composition only. After that, if you go into rotation options x, y, and z axes will be there. Place the X-axis at the start of a keyframe. Its value (-1) should be changed today.
After that, another keyframe should be placed after a gap of 50 frames. Next, change the Easy Ease and Curves Angle as you did for the first layer.
Size Edit
On the second layer, go to the size option and add a keyframe. It should be kept at a distance of 50 frames. Then put another keyframe at the beginning of the second layer and change its value to zero.
Go back and change Easy Ease and Curve like we did first. Then go to effect and preset and add drop shadow effect.
Drop shadow effect
- Keep the Opacity value at 100.
- The distance value should be changed to 8.
- Change the Softness value to 75.
After doing all this, select the two layers below and pre-compose them. Motion blur should be added to it.
Motion Tile
- Now add the motion tile to the pre-composition layer.
- Please make mirror adjustment corrections.
- Change the Output width & height value to 400.
Rotation
Add a keyframe 50 frames back from the end of the pre-composition layer. Next, add another keyframe at the end of that layer and change its value to (90). After that select two keyframes and do Easy Ease and Curve change as done first.
3. Layer footage
Motion Tile
Add the Motion Tile effect and change it to the layer above us.
Rotation
At the beginning of the rotation of that layer, put a keyframe and change its value to 90. After that add keyframe after 10 frames and change its value to (1×0). Finally, for the above layer, you need to change it for easy Ease and Curve change.
Once all this is done, your flip transition will be ready.

