Introduction
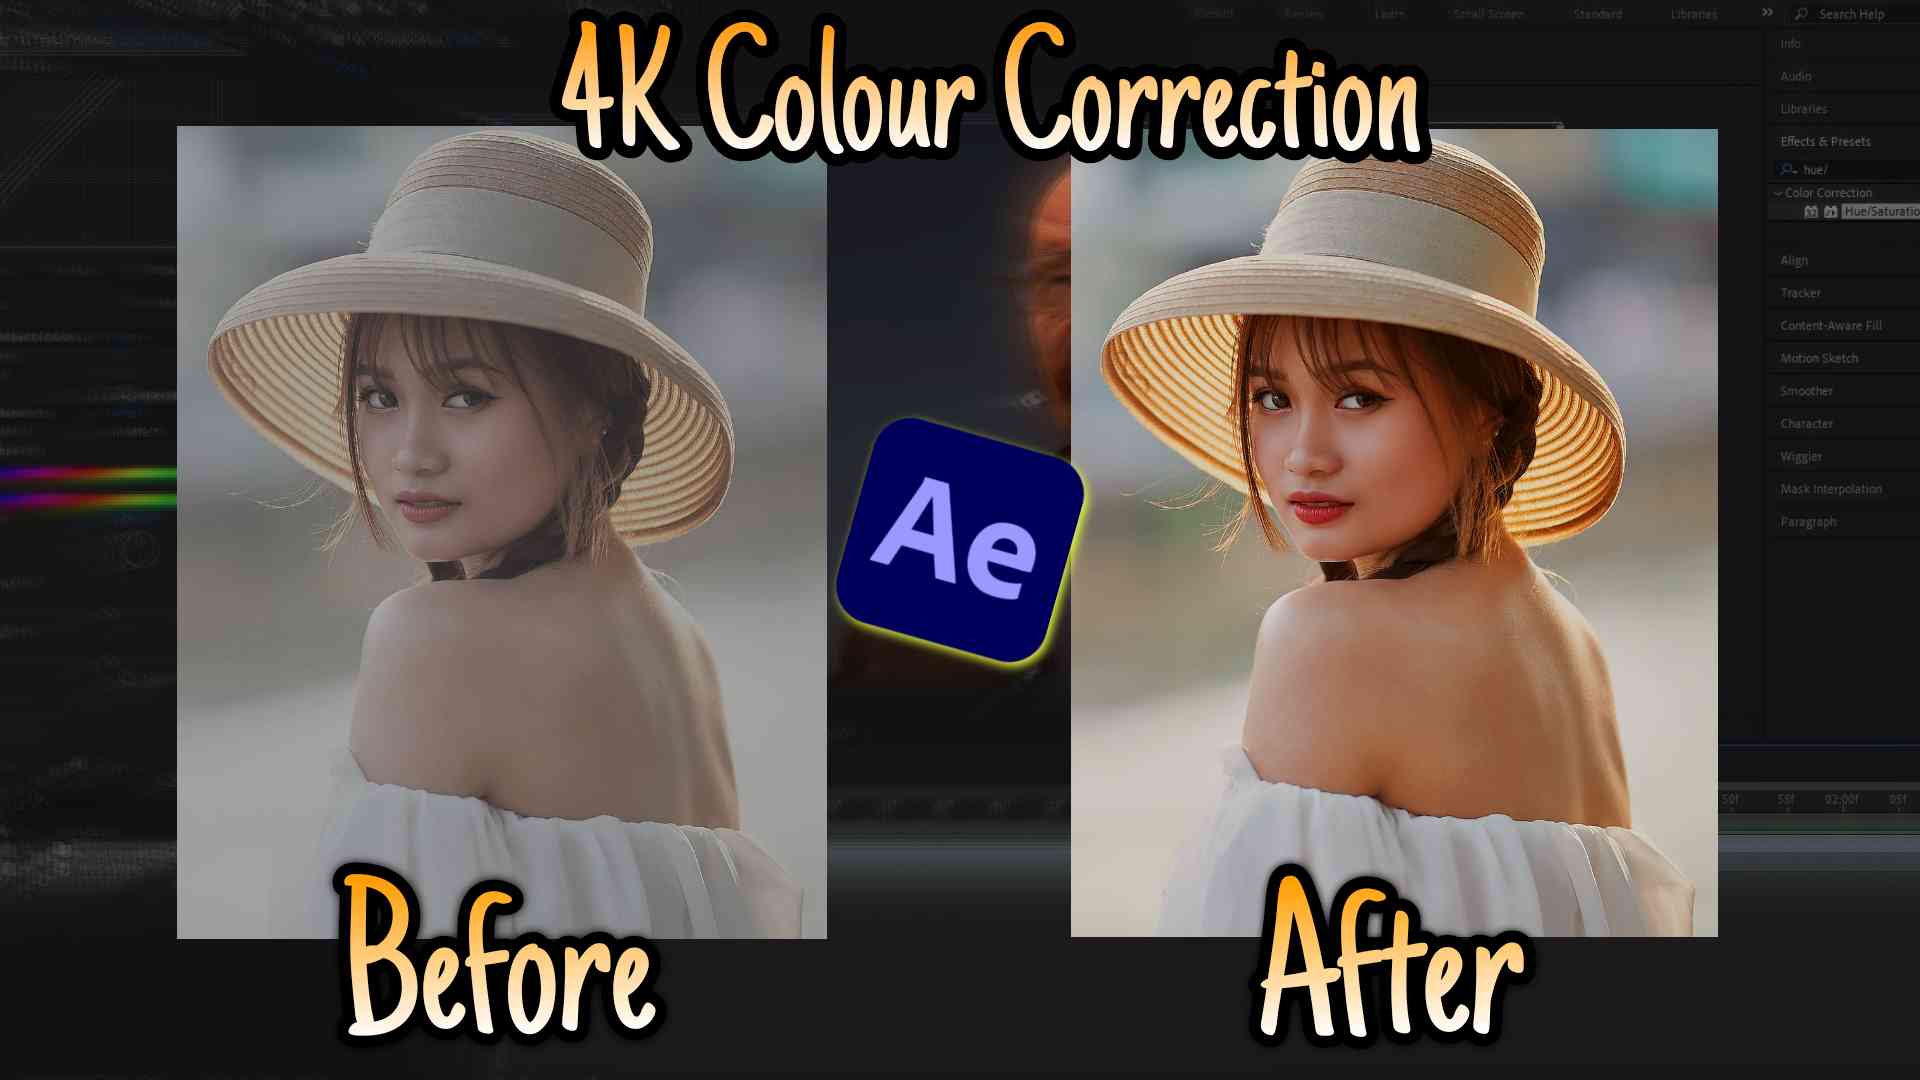
Today, the user explains a step-by-step process for 4K color correction in After Effects without using any plugins. They emphasize the importance of this free method in enhancing edit quality and reducing the risk of viruses. The tutorial involves adding effects like sharpen, unsharpen mask, exposure, CC vignette, curves, brightness, contrast, and hue/saturation to an adjustment layer above the clip. Each effect is carefully adjusted to improve the overall quality and detail of the video.
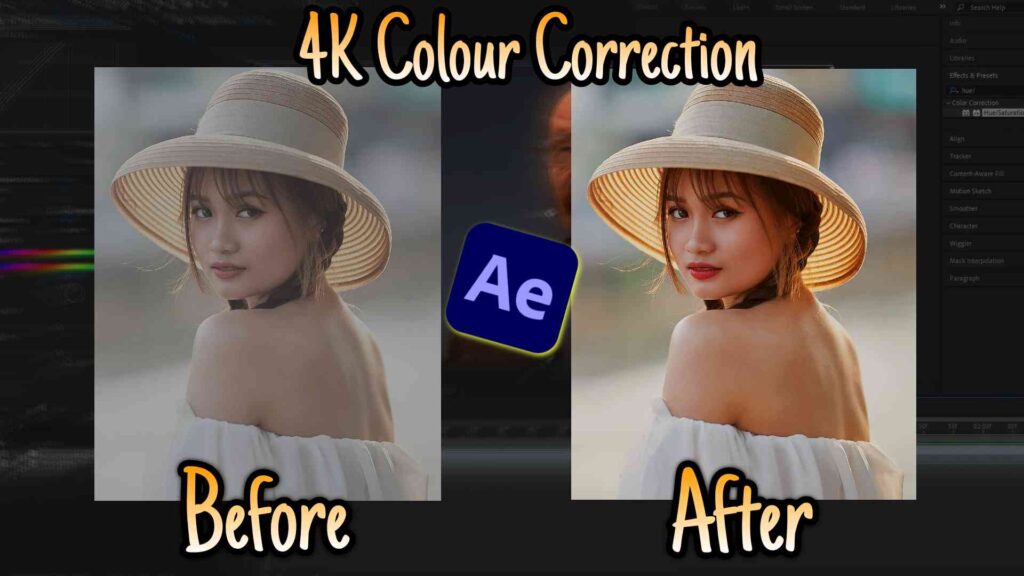
Table of Contents
Understanding Color Correction
The user demonstrates how to use the sharpen effect to increase image detail and the unsharpen mask to enhance the original clip’s quality. They also adjust exposure, lighting with CC vignette, curves, brightness, contrast, and saturation to achieve a desired color correction. The user highlights the importance of customizing settings based on individual clips for optimal results.
After Effect 4K Color Correction
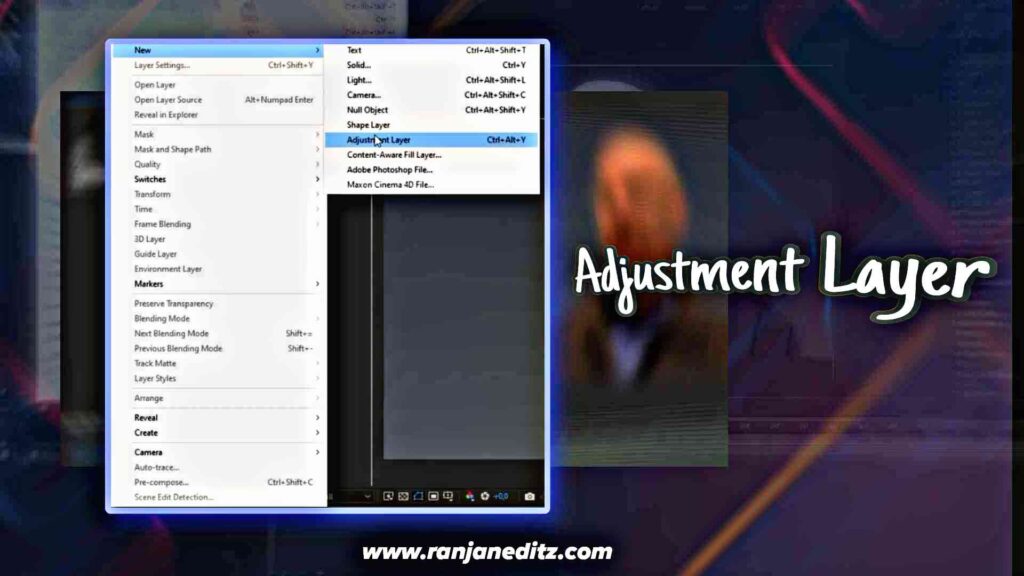
Add Adjustment layer
Once we’re in After Effects, you’ll need to position your clip where you want to apply the color correction (CC). In my case, it’s a clip of any Clip. The first thing you’ll want to do is add a new adjustment layer on top of the clip. To do this, go to the top menu, select ‘Layer,’ then ‘New,’ and click on ‘Adjustment Layer.’ The reason we apply the CC to an adjustment layer instead of directly to the clip is that this way, all the clips beneath the adjustment layer will be affected by the CC. This approach is straightforward and makes it easier to apply the effect to multiple clips.
Sharpen effects
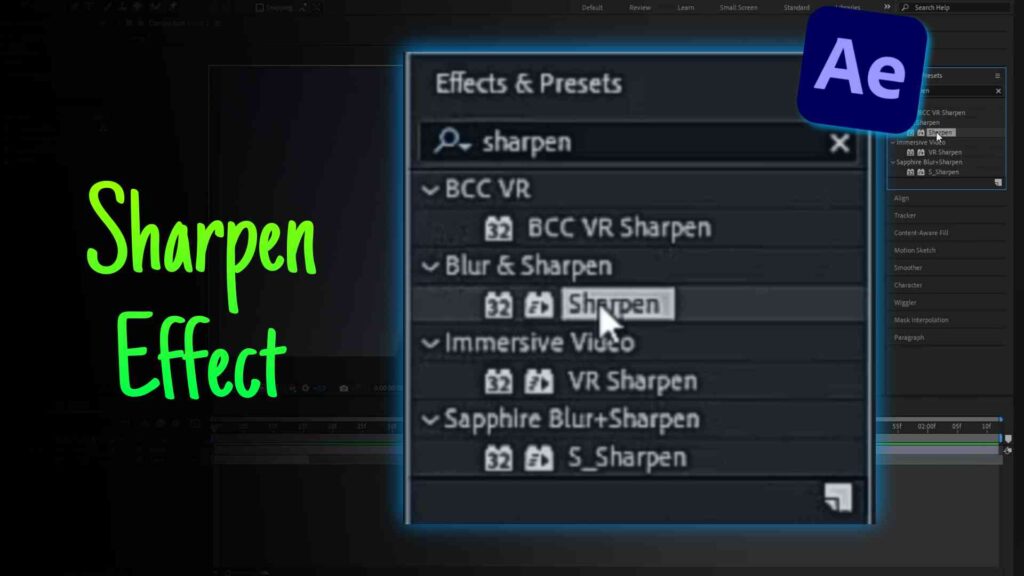
The first effect we want to apply to our CC is the Sharpen effect, which will enhance the image’s overall sharpness. To add it, go to your Effects and Presets panel and search for the Sharpen effect. Once you’ve found it, drag it onto the adjustment layer, and set the value from 0 up to 50. The Sharpen effect works by increasing the contrast between pixels, which enhances the detail and makes the video appear sharper.
This effect is particularly noticeable on the edges in your clip, and adding it will definitely make a visible difference. However, be careful not to set the value too high, as it might increase the graininess of your clip. I prefer to keep it moderate, so I’ll set it to 50.
Unsharpen Effects
After adding the Sharpen effect, we’ll move on to the next effect, which is the Unsharp Mask. Go ahead and drag it onto your clip, set the ‘Amount‘ from 50 down to 40, and increase the ‘Radius‘ from 1 up to 20. You might wonder why we’re adding an Unsharp Mask right after the Sharpen effect, but don’t worry—it’ll make sense in a moment. Despite its name, the Unsharp Mask doesn’t actually make your clipless sharp.
Instead, it creates a mask around your clip, and by slightly reducing the sharpness within that mask, it enhances the perceived quality of the original clip. After this process, the clip and mask are blended together, resulting in a final image with higher quality and more noticeable detail, without any apparent loss of quality.
Exposure and brightness
As you can see, when we disable the layer, there’s already a noticeable improvement in quality. But hold on, we’re not done yet! To make the clip appear a bit brighter, we’re going to add an Exposure effect. Go to your Effects and Presets panel, search for ‘Exposure,’ drag it onto your adjustment layer, and set the Exposure value from 0 to 0.35. This will make your clip slightly brighter. While it might not seem like a significant change, trust me—these small adjustments add up, and by the end, they’ll create the best possible result. So, make sure to follow all the steps.
Lighting
Next, we’re going to adjust the lighting a bit to make the scene look more realistic and improve the overall quality. To do this, search for the ‘CC Vignette‘ effect and apply it to your adjustment layer. We’ll leave the settings as they are by default. Adding the vignette creates a subtle shadow around the edges of the scene, which, in my opinion, draws more attention to the main action and significantly enhances the quality. There are different ways to achieve this effect, but I prefer using this method because it’s straightforward and delivers the best possible outcome.
Curves
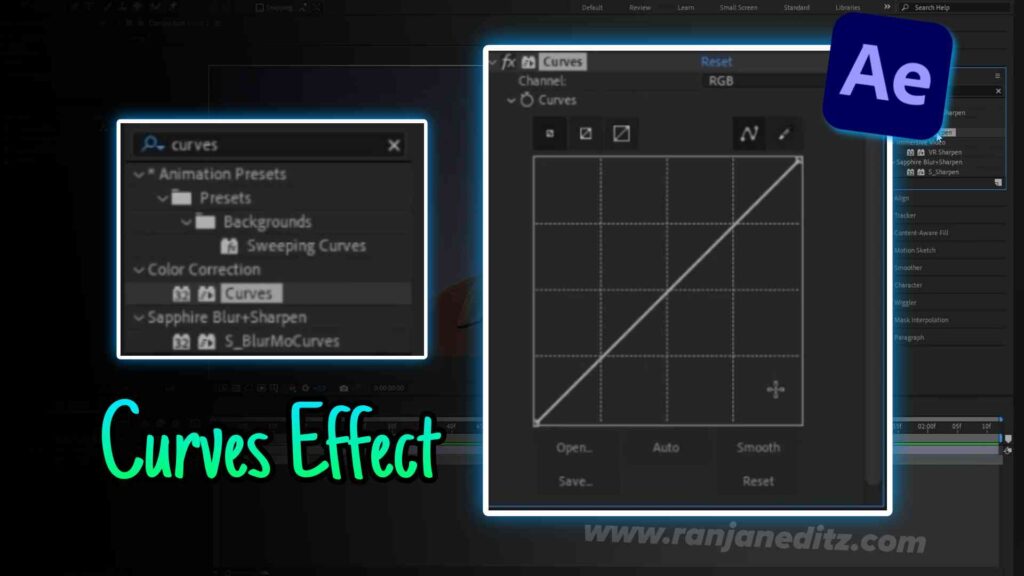
The next effect we’re going to apply is ‘Curves.’ Again, apply it to your adjustment layer. How you adjust this effect will depend on the specific clip you’re working with, as it changes the tonal range of your clip using a curve. Depending on how your clip looks, you’ll need to adjust the curve accordingly. In my case, I want to make the clip a little brighter because it currently appears too dark. So, I’m going to raise the curve slightly in the highlights area and lower it a bit in the shadows to achieve the desired look. Be sure to experiment with these settings while previewing your changes in real-time, so you can get the best results.
Once you’ve adjusted the curve to your liking, the next effect we’ll add is ‘Brightness and Contrast.’ Search for it and drag it onto the adjustment layer. For this effect, we’ll mainly focus on adjusting the contrast. I’m not going to use the brightness setting here, since we’ve already brightened the clip enough. However, if your clip is still too dark, you can use the brightness setting to add a bit more light. Adjust the contrast to enhance the depth and definition of your clip, giving it a more polished look.
Color Correction
Contrast
As I mentioned, my clip is already bright enough, so I’m just going to increase the contrast from 0 to 20. By using the Brightness and Contrast effect to adjust the contrast, we’re targeting the entire layer, not just individual sections. This means it impacts the highlights, midtones, and shadows all at once. This method makes adjusting contrast much easier, as you don’t have to worry about tweaking each section separately.
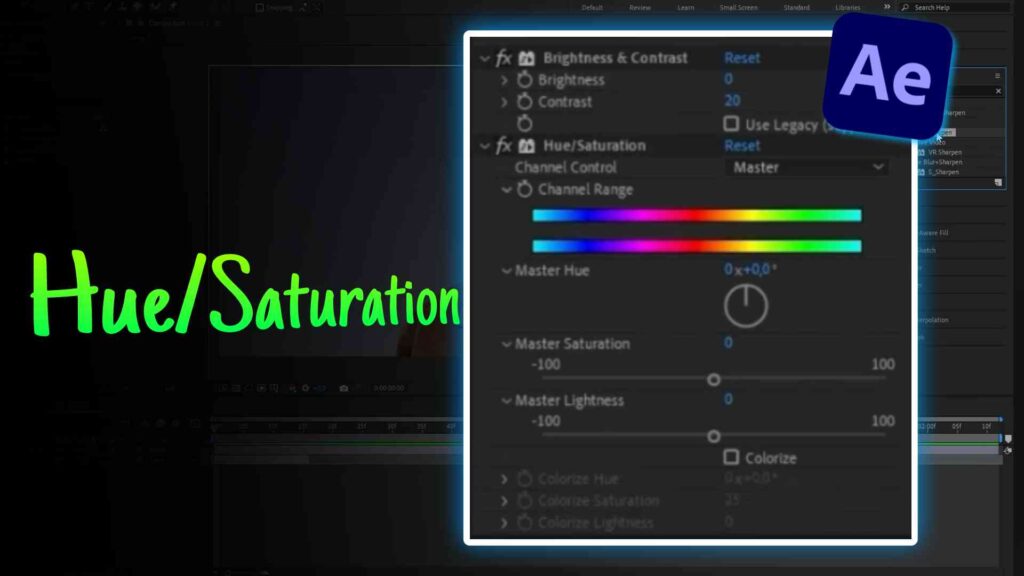
Saturation
We’re going to use the Hue/Saturation effect to increase the saturation. The value we want to target here is the Master Saturation. I don’t want to overdo it, so I’m just going to increase it from 0 to 5. As I mentioned before, it’s the small adjustments that make a big difference. This setting basically adjusts the intensity of the colors—the higher you go, the more vibrant the colors will be, and the lower you go, the more muted they’ll become.
Now, I can’t help but wonder what’s more saturated: this effect or CapCut velocity edits? But let’s stay focused on color correction. Once we’ve adjusted this setting, we’re actually done.
Conclusion
I hope you now realize how much quality you’ve been missing out on by not using proper color correction. It’s important to remember that depending on the clip you’re working with, you’ll need to adjust your settings accordingly, as the ideal values will vary for each clip.

1 thought on “How To Make 4K Color Correction in After Effects”