
Welcome to this comprehensive tutorial on creating a stunning Pixel Scan Logo Animation using After Effects. Whether you’re a beginner or have some experience, this guide will walk you through each step, ensuring you achieve a professional-looking animation without the need for plugins. Let’s dive into the process!
Table of Contents
Step 1: Create a New Composition
First things first, we need to create a new composition. Set the size to 1920 x 1080, choose a frame rate of 30 fps, and keep the duration at 4 seconds. After entering these settings, click OK.
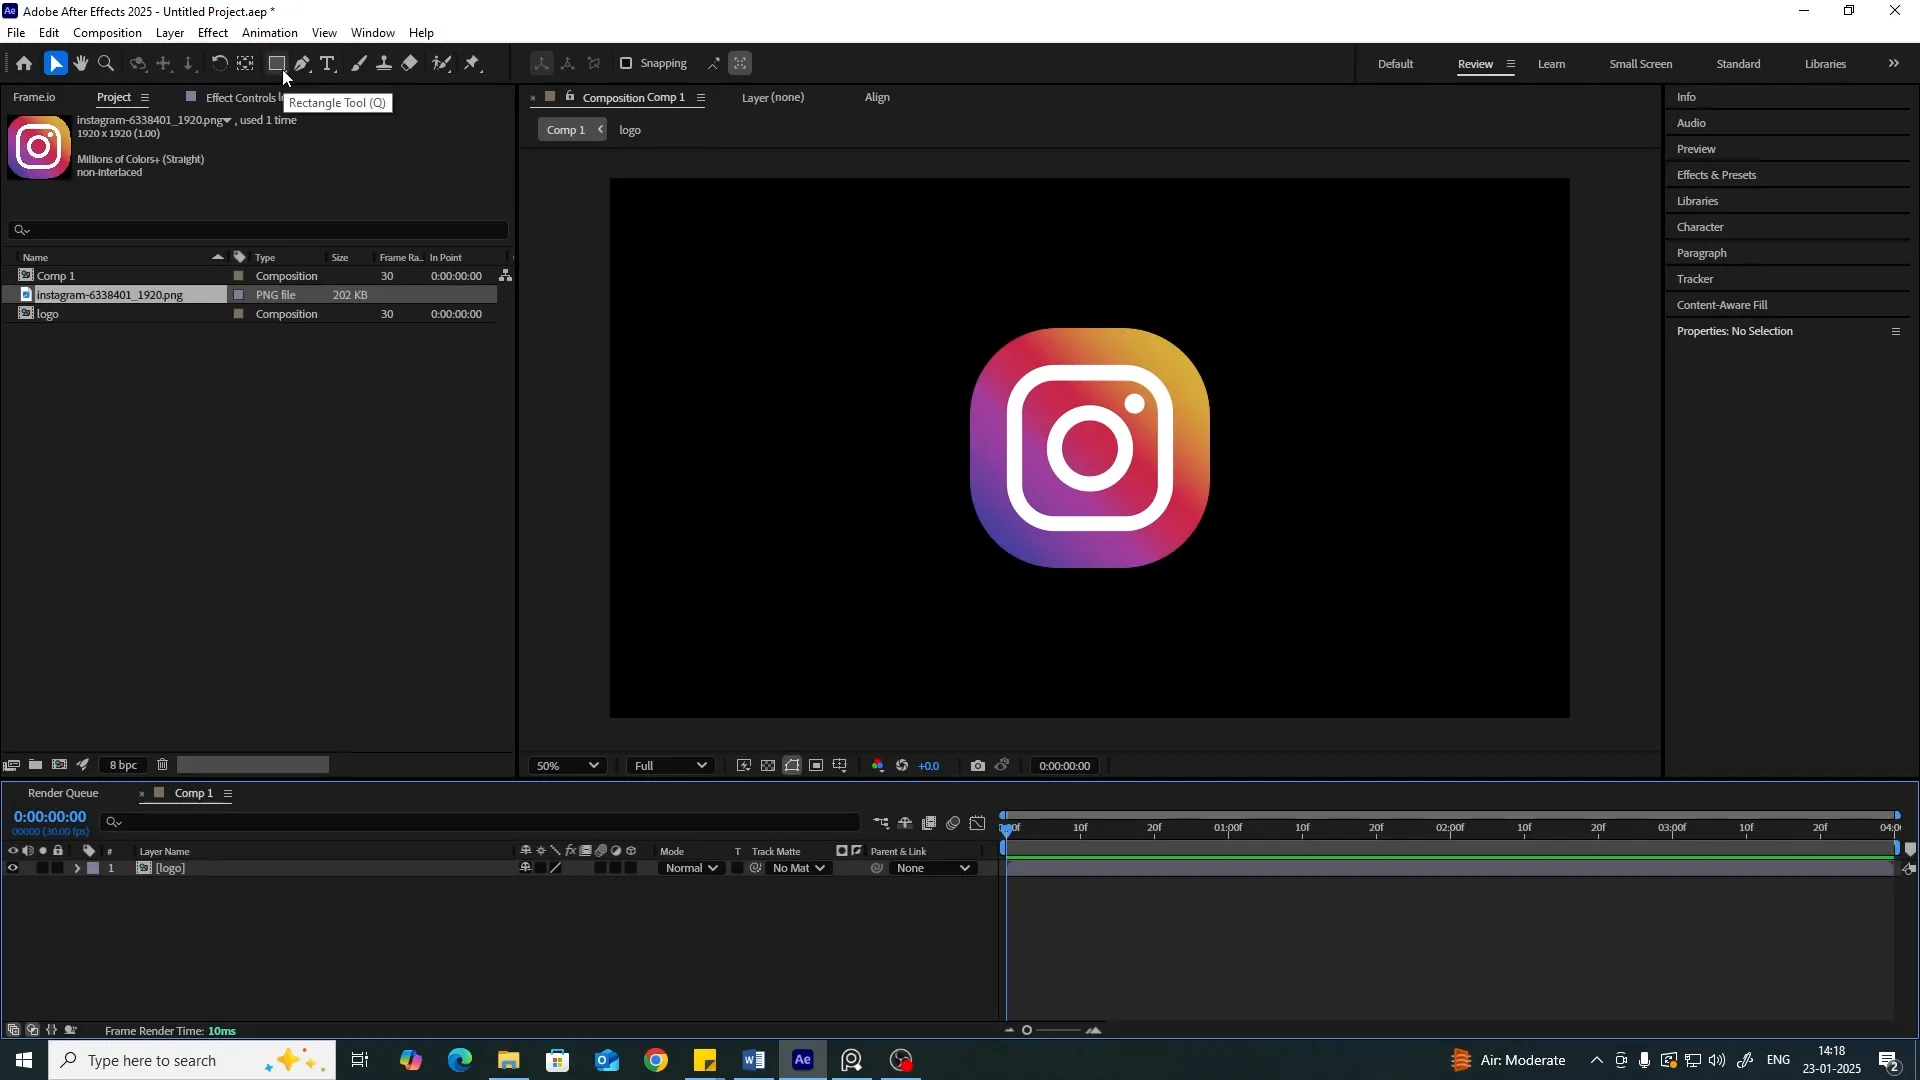
Step 2: Import Your Logo
Now, double-click in the project panel to import your logo. Make sure your logo is in PNG format for best results. Drag and drop your logo onto the timeline. If the logo appears too large, press S to scale it down. I usually set the size to around 25% for better centering.
Step 3: Pre-compose the Logo Layer
Next, right-click on the logo layer and select Pre-compose. Name this pre-comp something like “Logo Reveal”. This will help us maintain an organized workflow.
Step 4: Create a Shape Layer
Now, select the Shape Layer tool and create a full-frame selection. If the shape layer appears in a different color, go to the Fill options and set it to White. After that, turn off the visibility of this layer.
Step 5: Animate the Position
Hit P to bring up the Position settings for the shape layer. Set a keyframe at the start of the timeline, then move to the end of the timeline and adjust the position to where you want the animation to end. This will create a smooth movement effect.
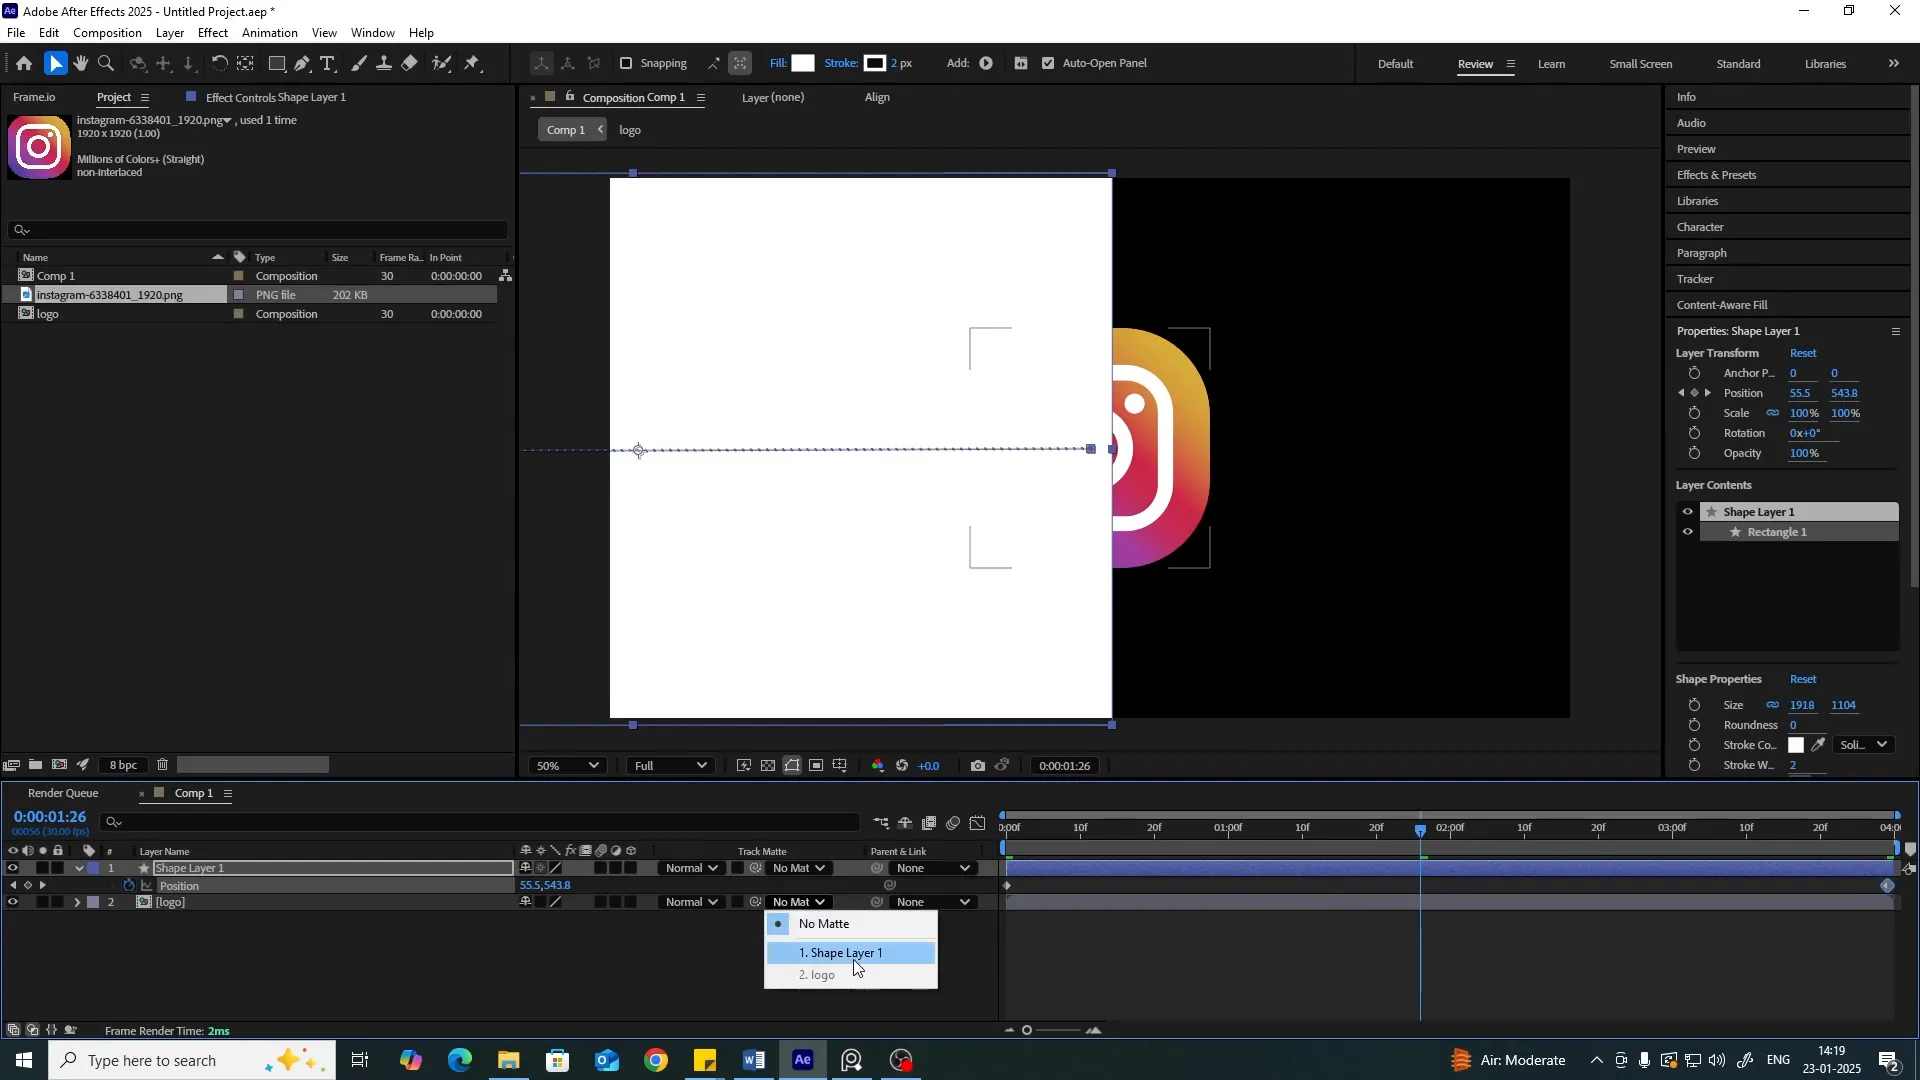
Step 6: Set Up Track Matte
To create a mask for our animation, change the layer settings from None to Alpha Matte. If you don’t see the Track Matte options, click on the toggle switches at the bottom of the timeline.

Step 7: Adding Turbulent Displace Effect
Now, go to Effects & Presets and search for Turbulent Displace. Drag this effect onto your shape layer. Set the amount to 200 and the size to around 20 to create a nice distortion effect.
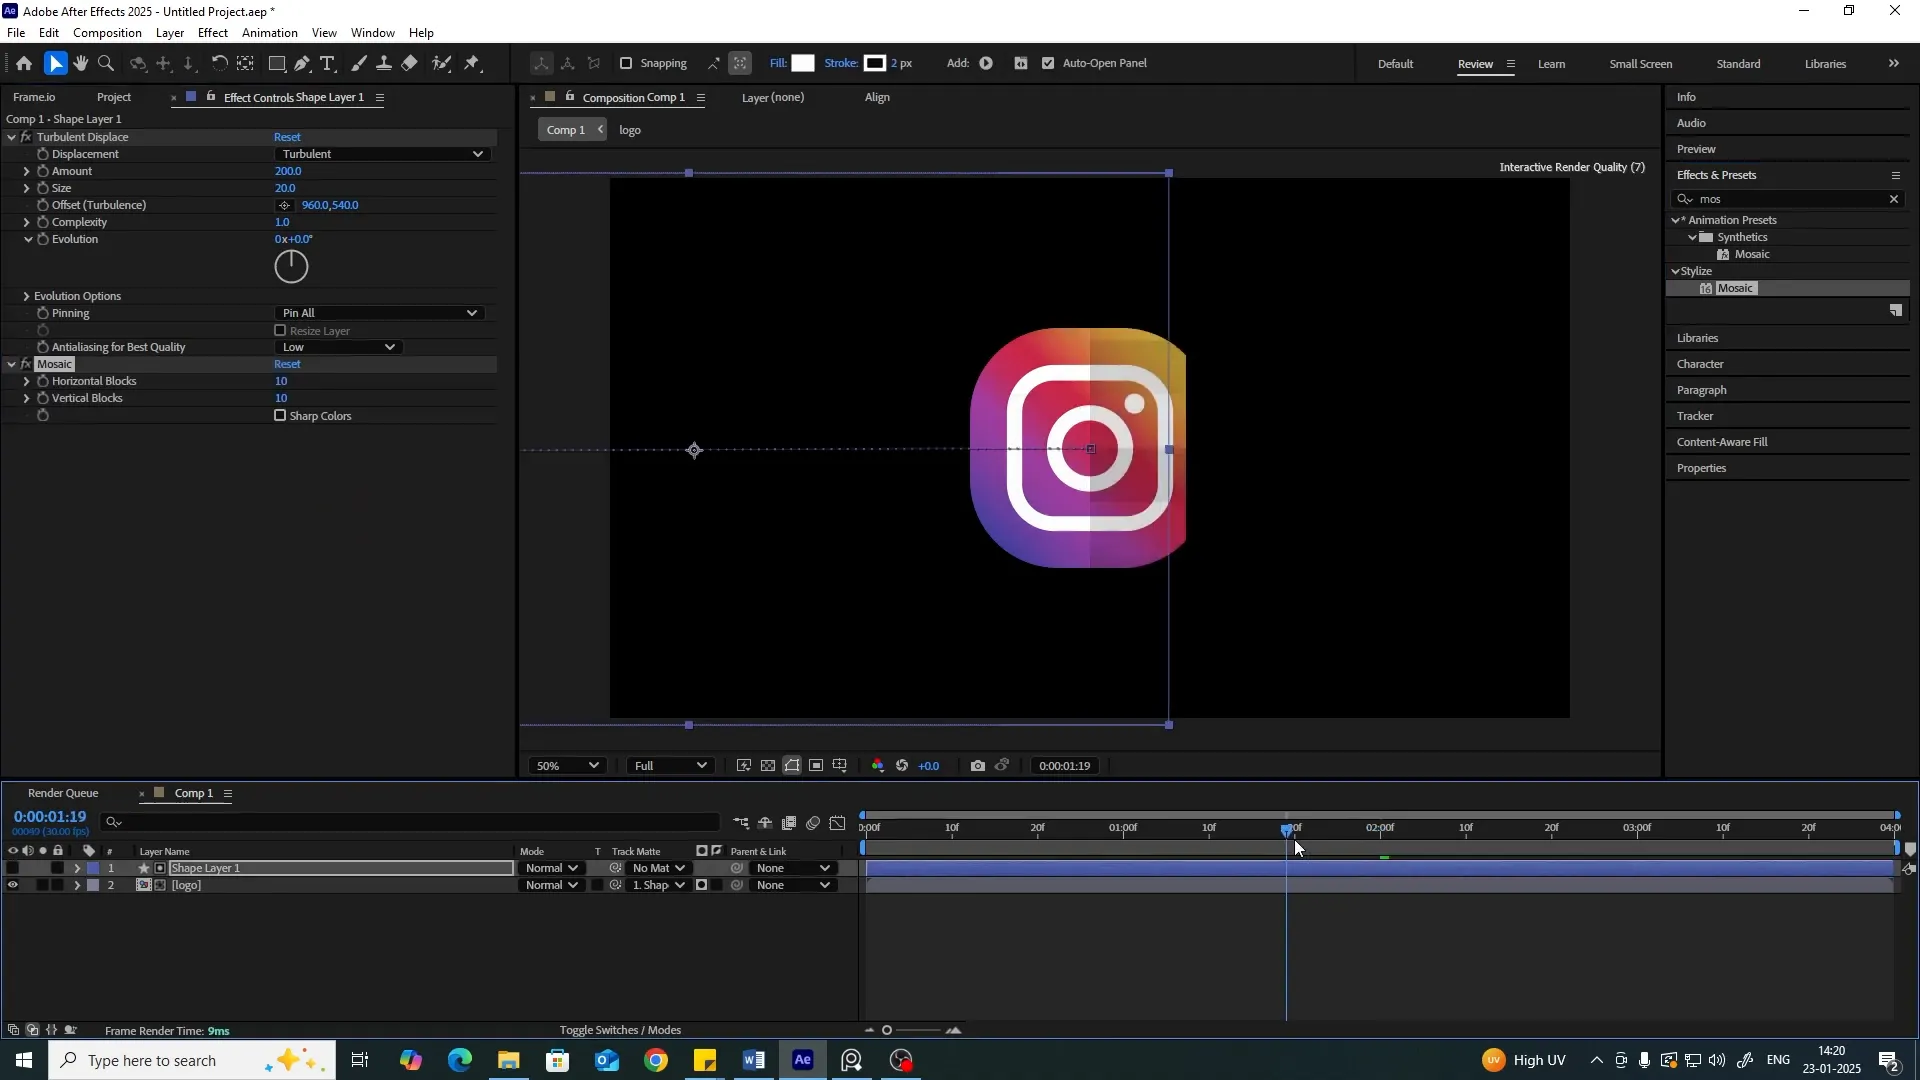
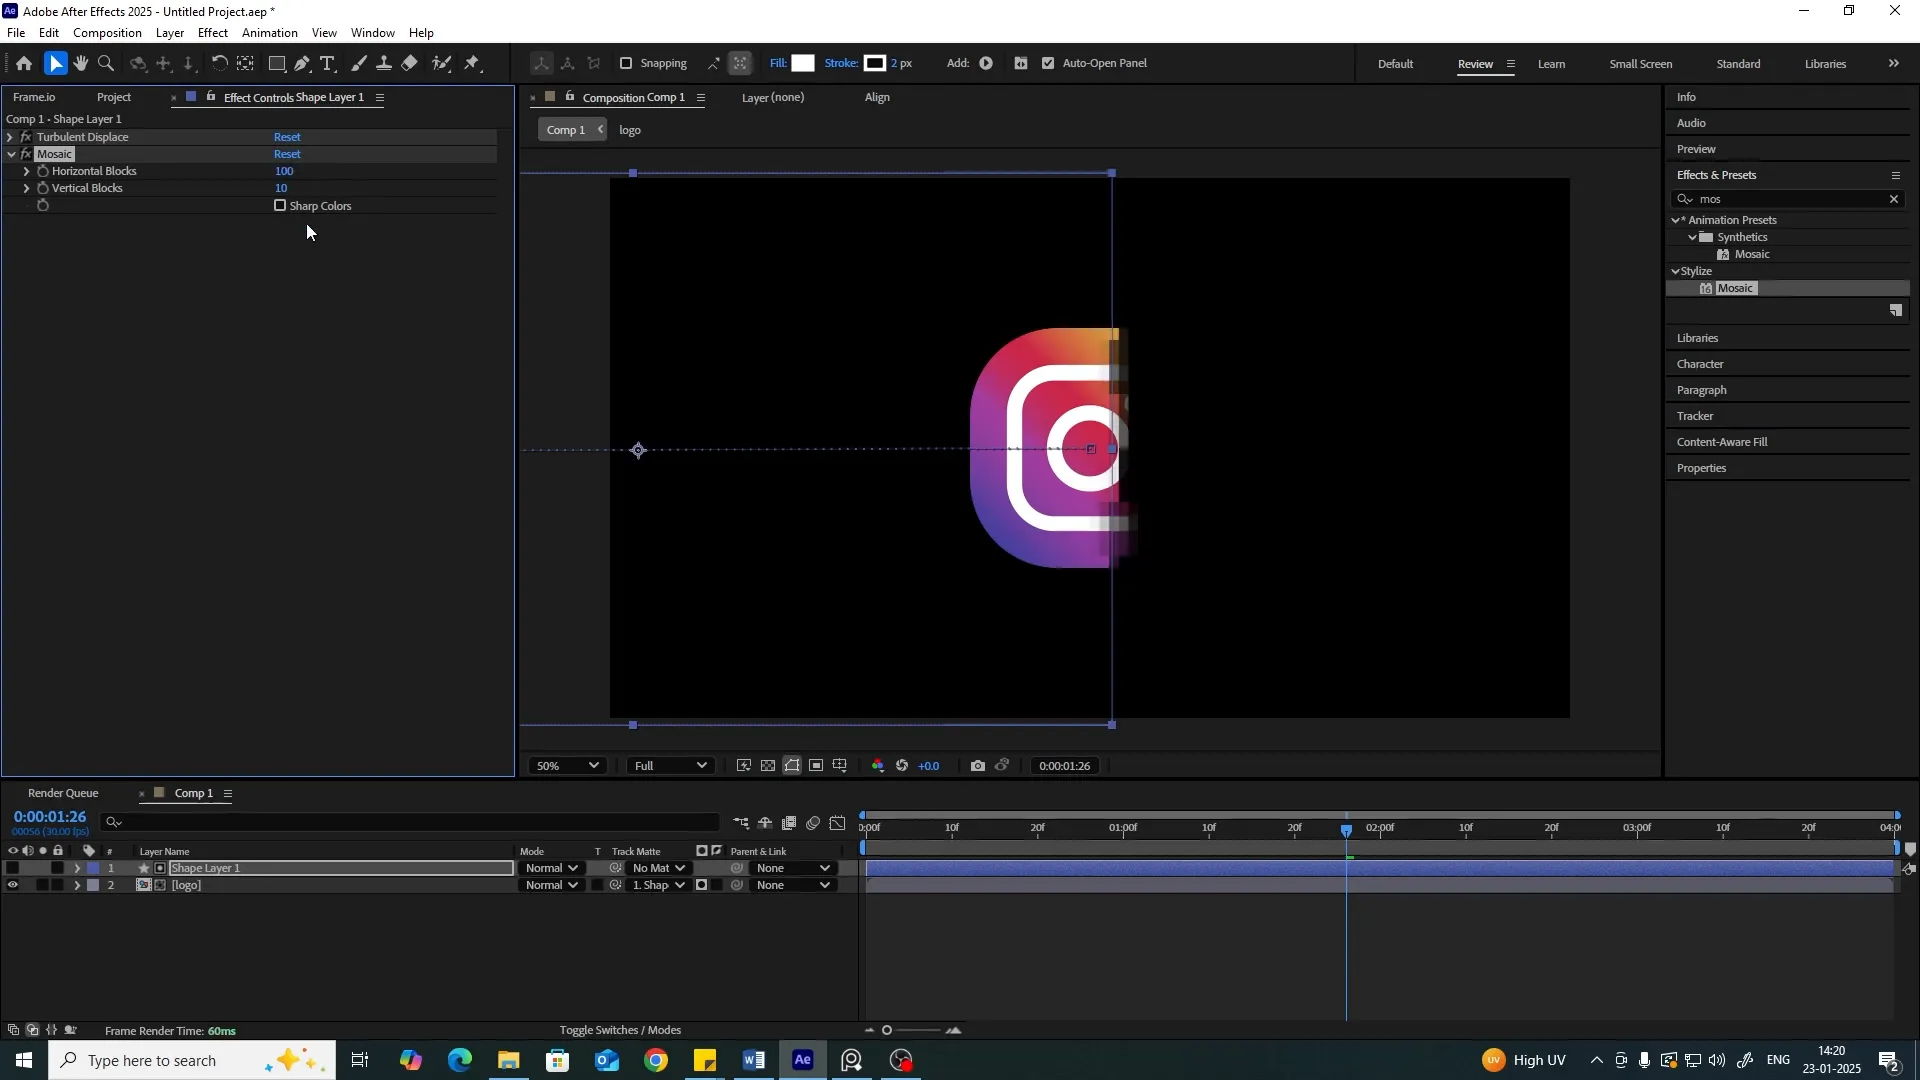
Step 8: Adding Mosaic Effect
Next, we want to add a Mosaic effect to give that pixelated look. Search for the Mosaic effect in the effects panel and apply it to the same shape layer. Adjust the horizontal and vertical blocks to achieve the desired pixelation.
Step 9: Pre-compose the Layers
Once you’ve got your desired effects, select all layers and right-click to Pre-compose them again. Name this new comp “Pixel Scan”. This will keep everything organized and easy to manage.
Step 10: Final Composition Setup
Now, create a new composition for the final output. Drag the “Pixel Scan” comp to the center of the frame. Next, apply the CC Glass effect to the layer. Adjust settings such as Height and Displacement to enhance the overall look.
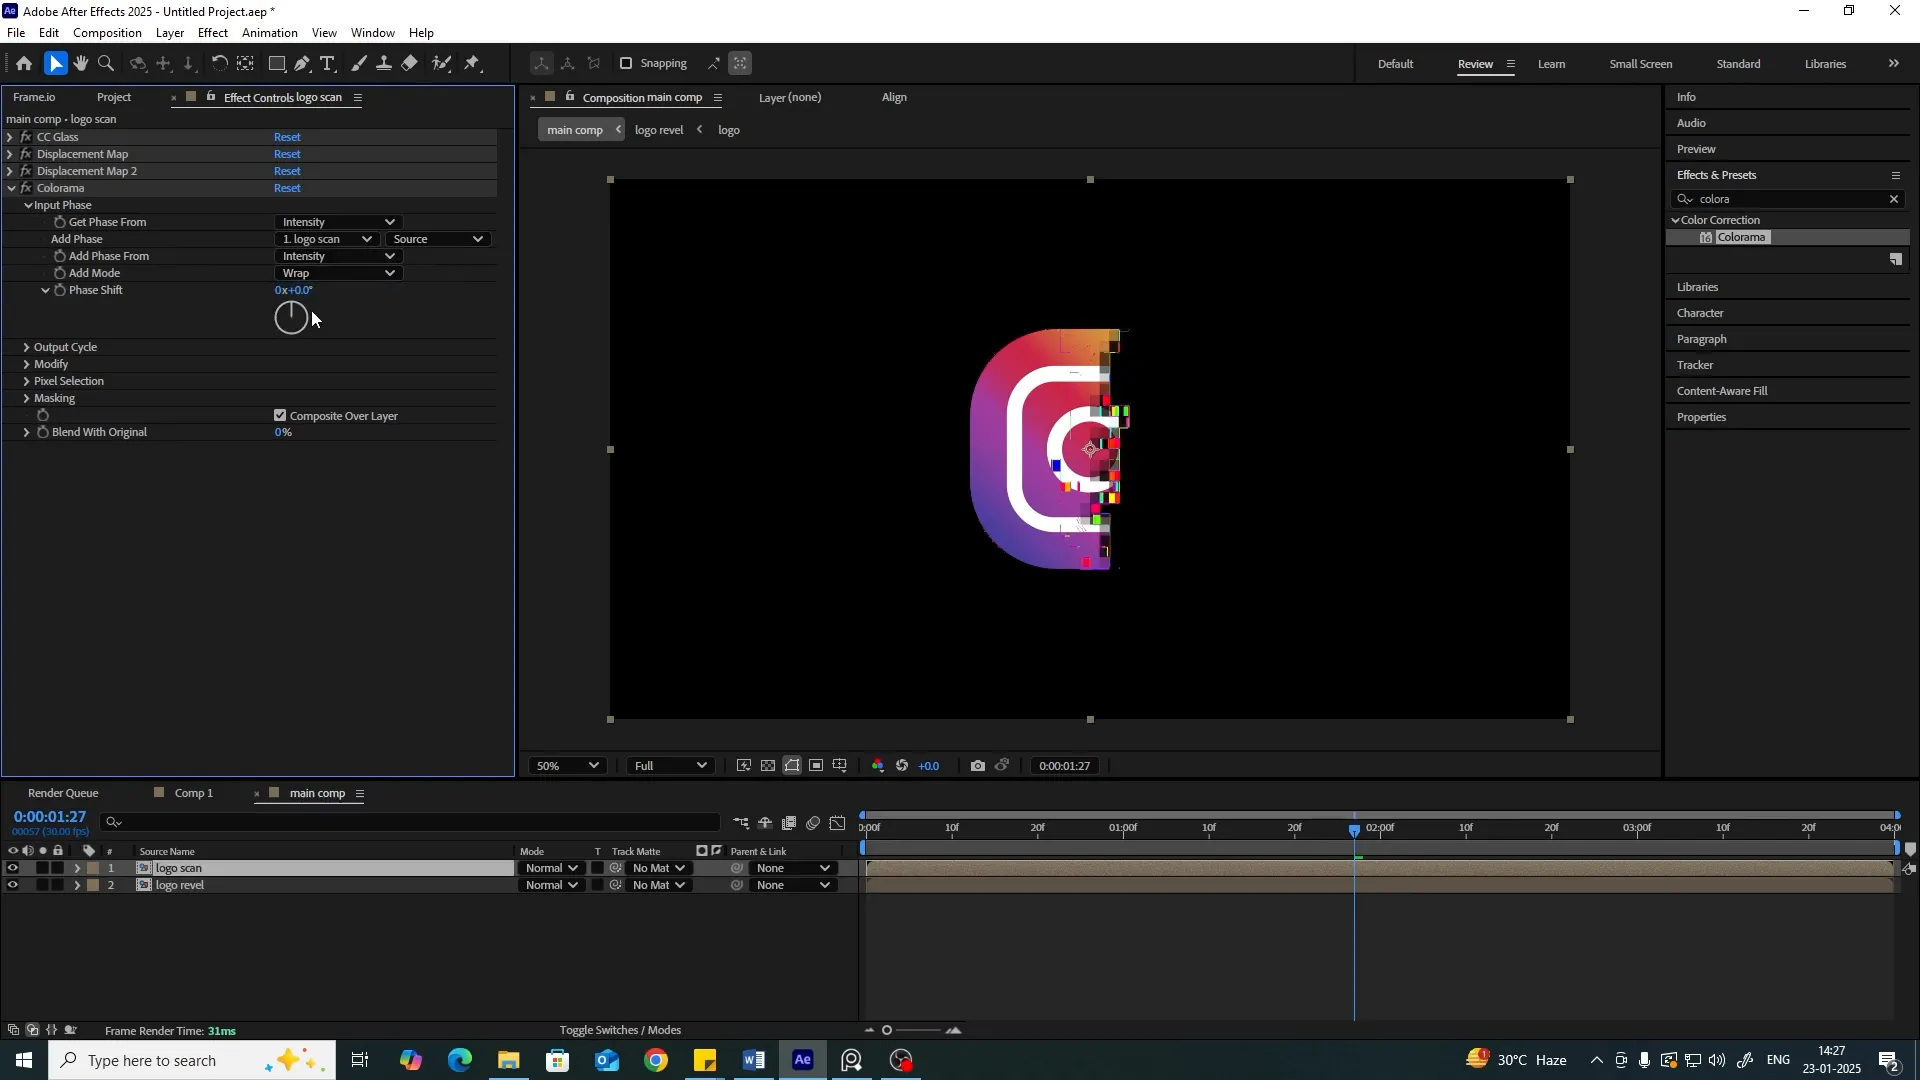
Step 11: Adding Color Effects
To add color dynamics, search for the Colorama effect and apply it to your layer. Adjust the settings to achieve a vibrant color scheme that matches your brand identity.
Step 12: Applying Glow Effects
Finally, let’s make your animation pop with some glow. Search for the Glow effect and apply it. Adjust the radius and intensity until you get the desired glow effect around your logo.

Conclusion
And there you have it! You’ve successfully created a stunning Pixel Scan Logo Animation in After Effects. With practice, you’ll be able to refine your skills and enhance your animations even further. Remember, the key to mastering After Effects is experimentation and practice. For More tips and tricks on video editing Ranjan Editz