

If you’ve been scrolling through social media, you’ve likely come across those jaw-dropping viral HUD effects that look both futuristic and cool. Today, I’m excited to guide you through creating your very own Advanced HUD Effect in After Effects. Don’t worry if this seems daunting; it’s easier than it looks! Let’s dive into some sci-fi magic together.
Table of Contents
Step 1: Setting Up Your Composition
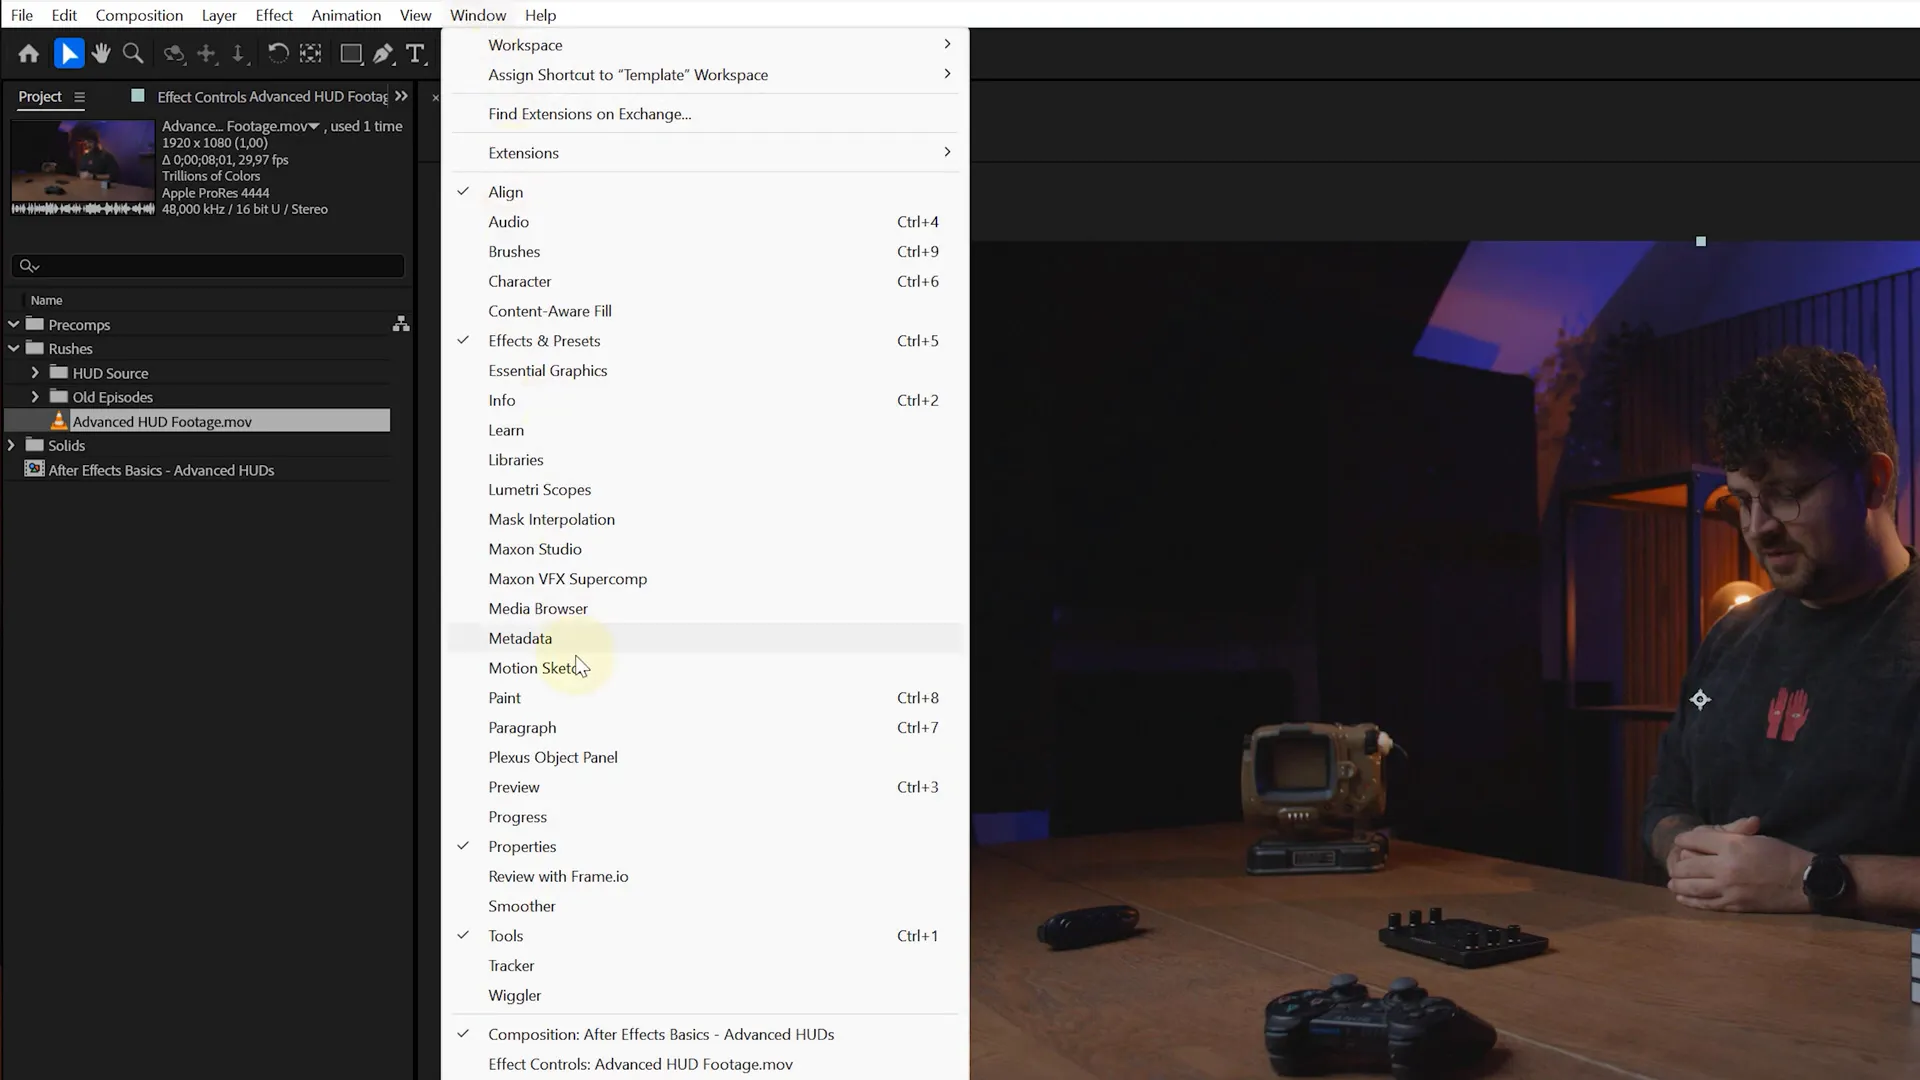
First, let’s create a new composition in the project panel and drag in your footage. After selecting your footage, head to the tracker panel. If you can’t see it, go to the top menu, hit Window, and enable it. Once you have the tracker panel open, choose the 3D Camera Track option and let After Effects do its magic.
Step 2: Cleaning Up Tracking Points
After analyzing, you’ll see a bunch of tracking points scattered across your footage. However, your average error number might be a bit high. To fix this, clean up those tracking points by removing all points on moving objects (like your body) and keeping only the ones on stable surfaces, such as tables or walls. Work through the timeline in 10-frame chunks until everything looks solid.
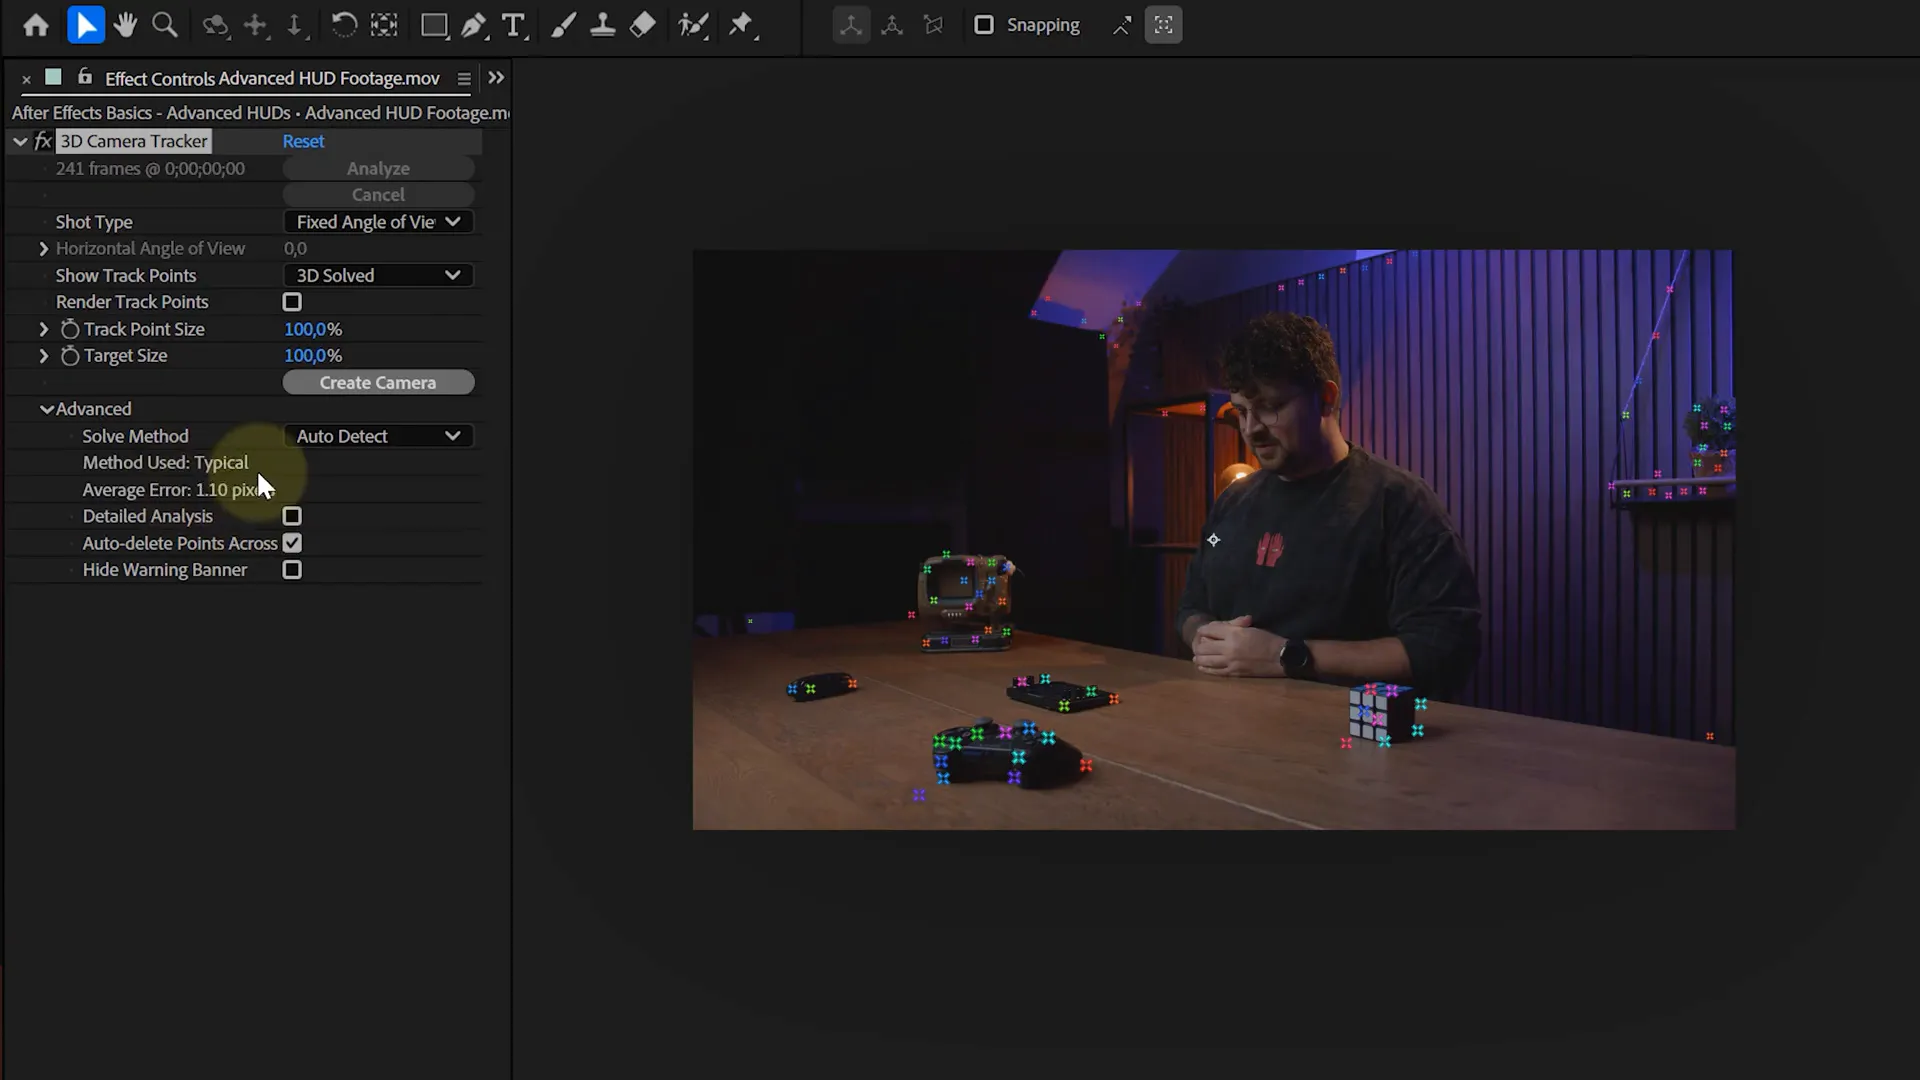
Step 3: Setting the Ground Plane
Next, we need to set the ground plane. Right-click on a tracking point that aligns with the table or ground, then select Set Ground Plane and Origin. Right-click again on the same point and create a solid. Scrub through your timeline to ensure that your solid is tracked smoothly.
Step 4: Designing Your HUD Elements
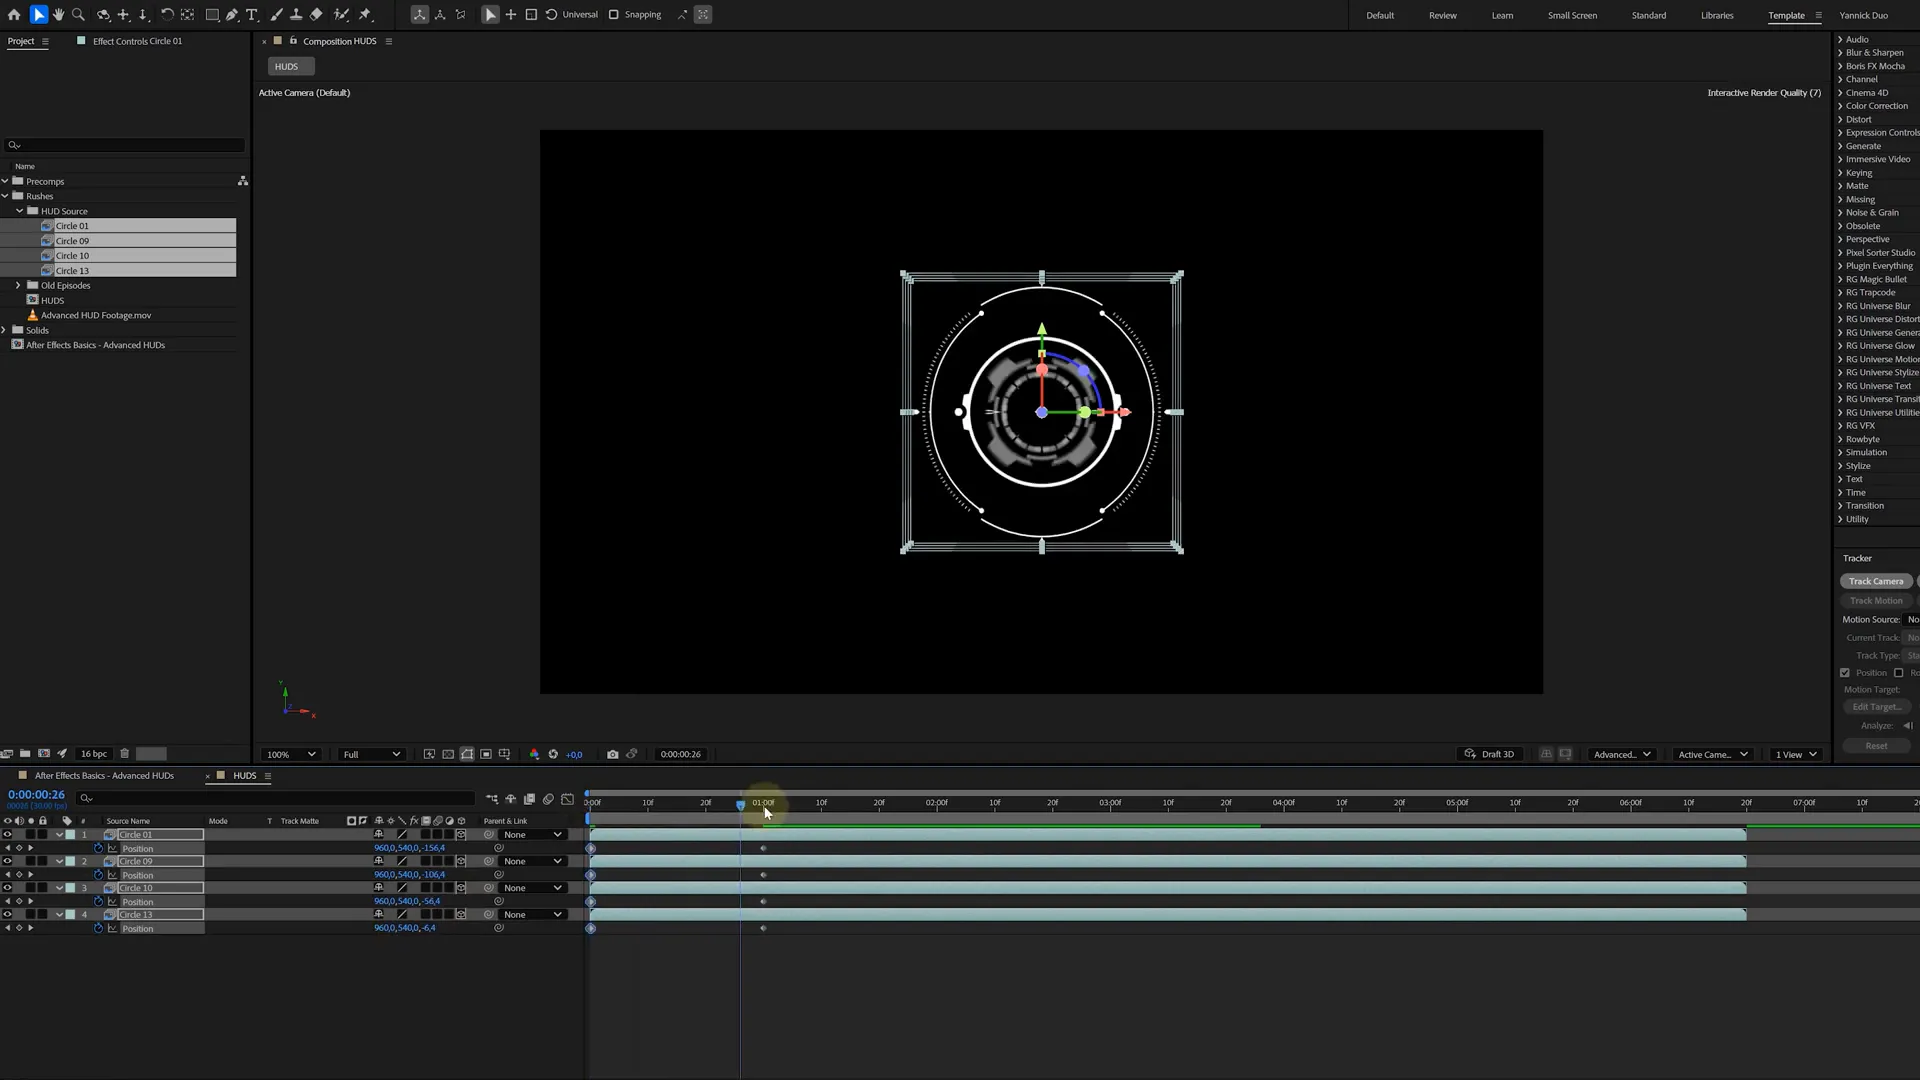
Now for the fun part! Create a new composition with the same settings as your original comp. This is where we’ll design our HUD elements. You can create them from scratch or grab premade assets online. Once you have your elements, bring them into a new composition and turn each layer into a 3D layer.
Step 5: Positioning Your Layers
To add depth, offset these layers in the Z-space. Open up the position property for each layer and start spacing them out. Keep the bottom HUD at zero, move the next one to minus 50, the third one to minus 100, and so on. For a better view, switch to the two-view layout.
Step 6: Animating Your HUD Layers
Now, let’s animate these HUD layers! Mine already have some cool scale-in animations, but I’m adding an extra touch by animating their Z position to make them feel like they’re flying toward the screen. If your HUD elements aren’t the right color, just apply a fill effect and recolor them to your preference.

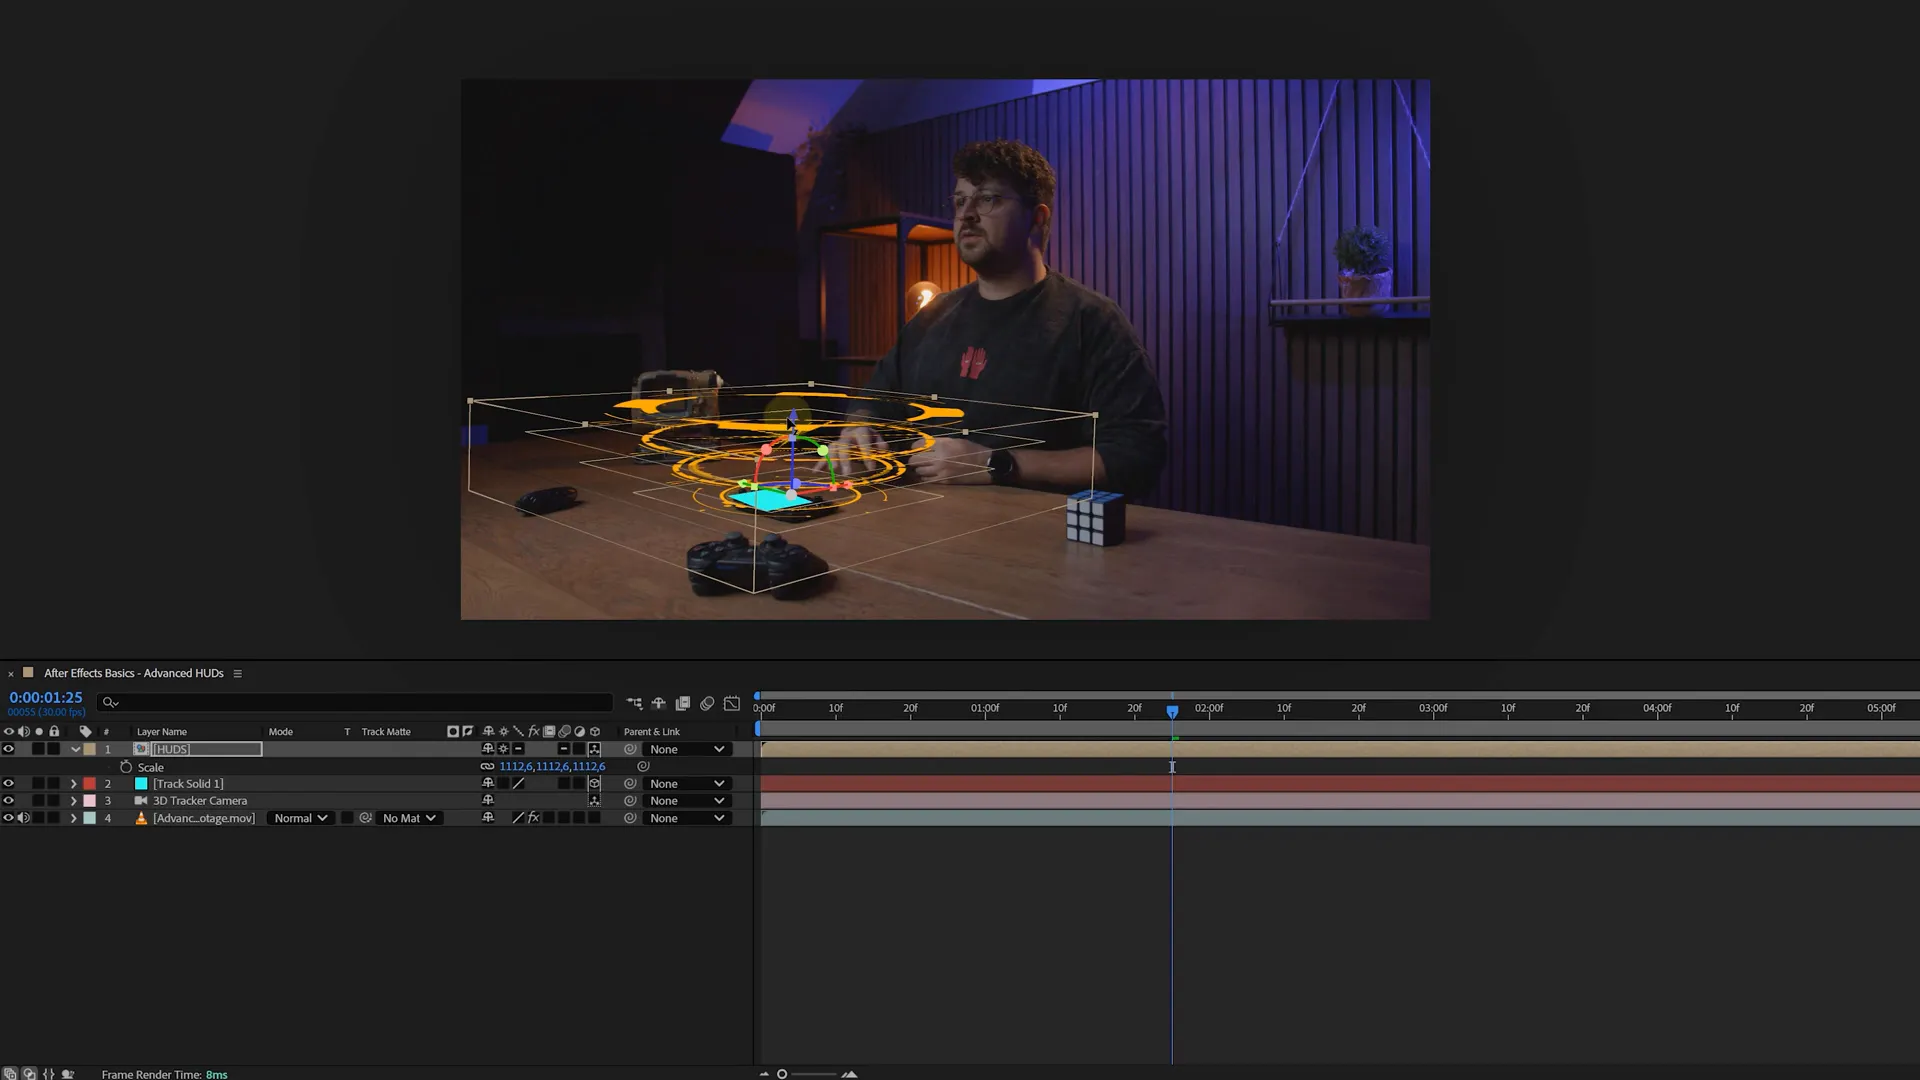
Step 7: Bringing It All Together
Once your HUD composition looks good, go back to your main comp and drop it in. Turn it into a 3D layer and enable the collapse transformation button (the sun icon). This will bring back all the original 3D positionings of everything inside the HUD comp.
Step 8: Adding Glow Effects
Let’s add some glow because a HUD without glow is like pizza without toppings! You can use After Effects’ built-in glow effect, but I prefer using Optical Glow from Maxon and Red Giant for that extra pop. Apply it, tweak the settings, and watch your HUD come to life!
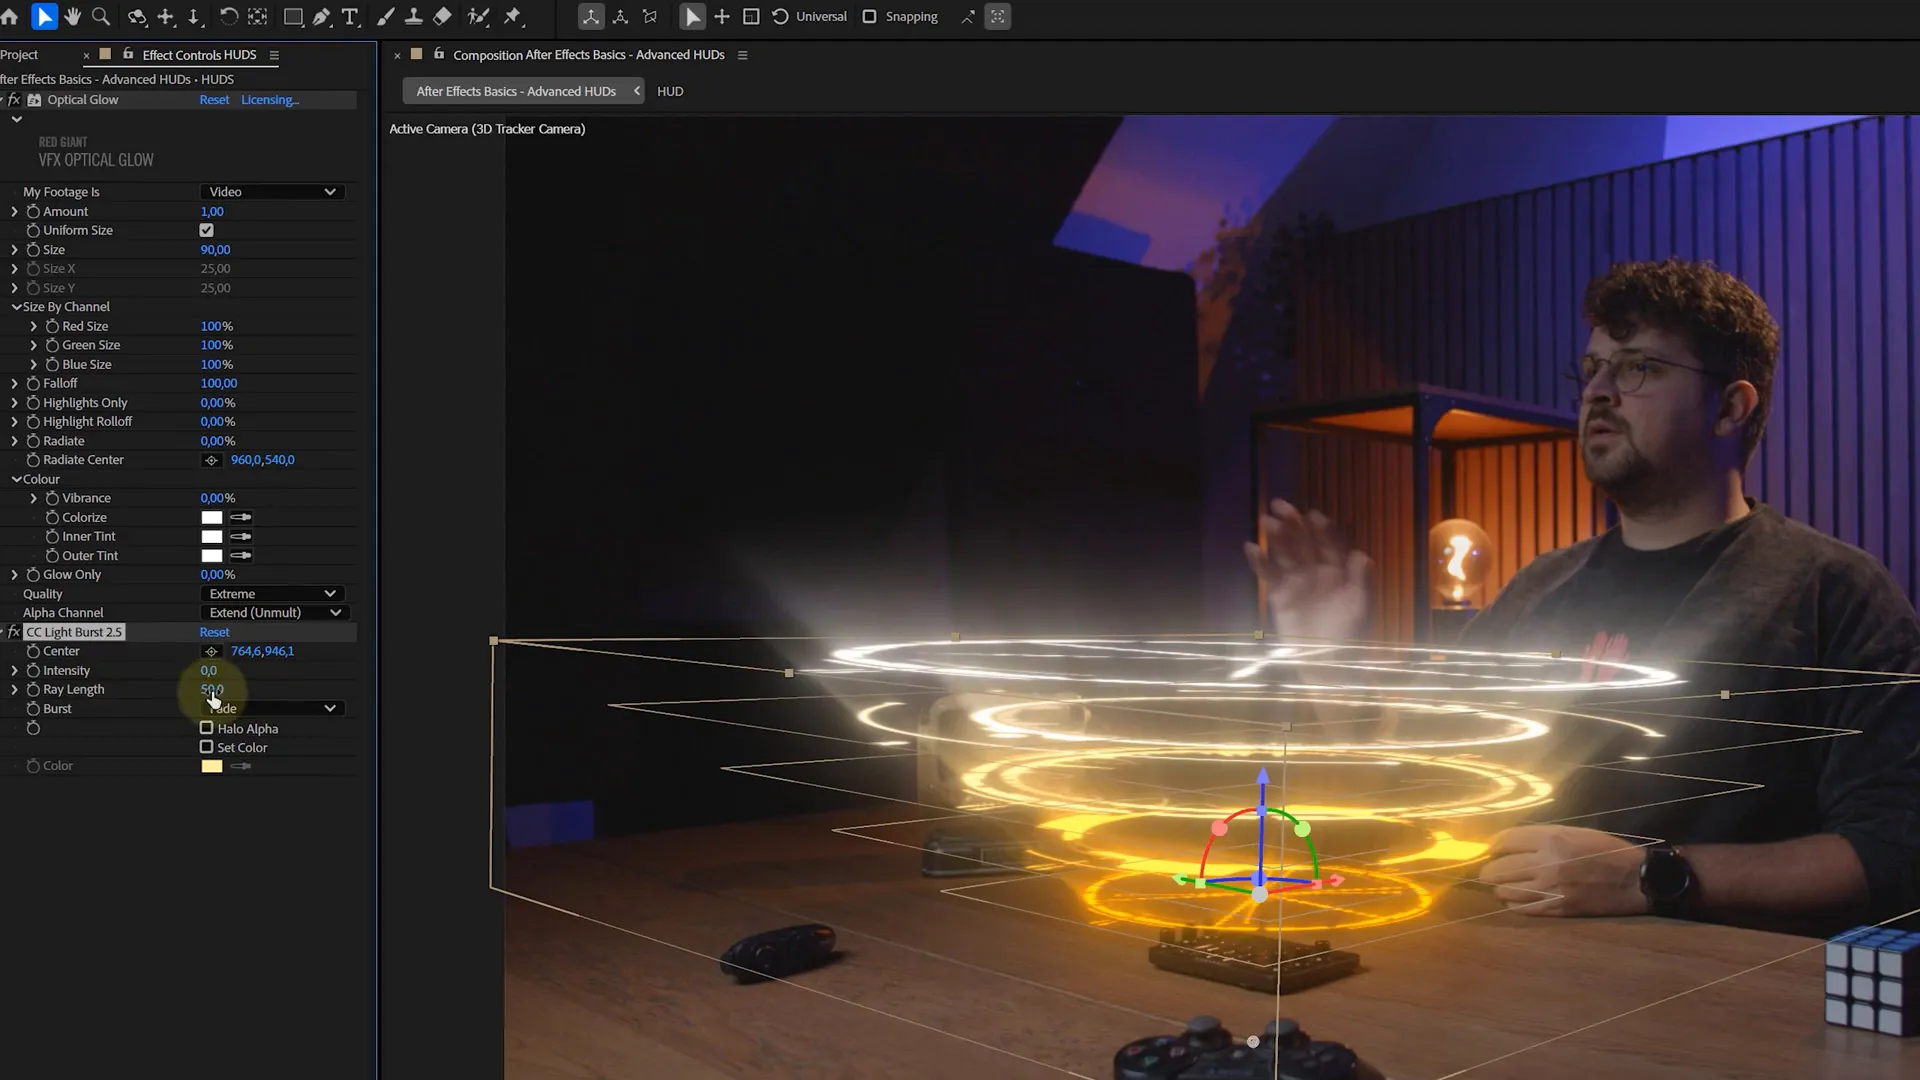
Step 9: Enhancing with Additional Effects
For even more flair, duplicate your HUD layer and add a CC Light Burst effect to the bottom copy. Aim the light rays upward for that iconic sci-fi shine and tweak the settings to your liking.
Step 10: Adding Glow to Your Subject
Here’s a bonus touch: adding glow to your subject! Duplicate your original footage and use the rotoscope tool to isolate the subject. Then apply a fill effect in the same color as your HUD, followed by a simple shoker effect to tighten things up.
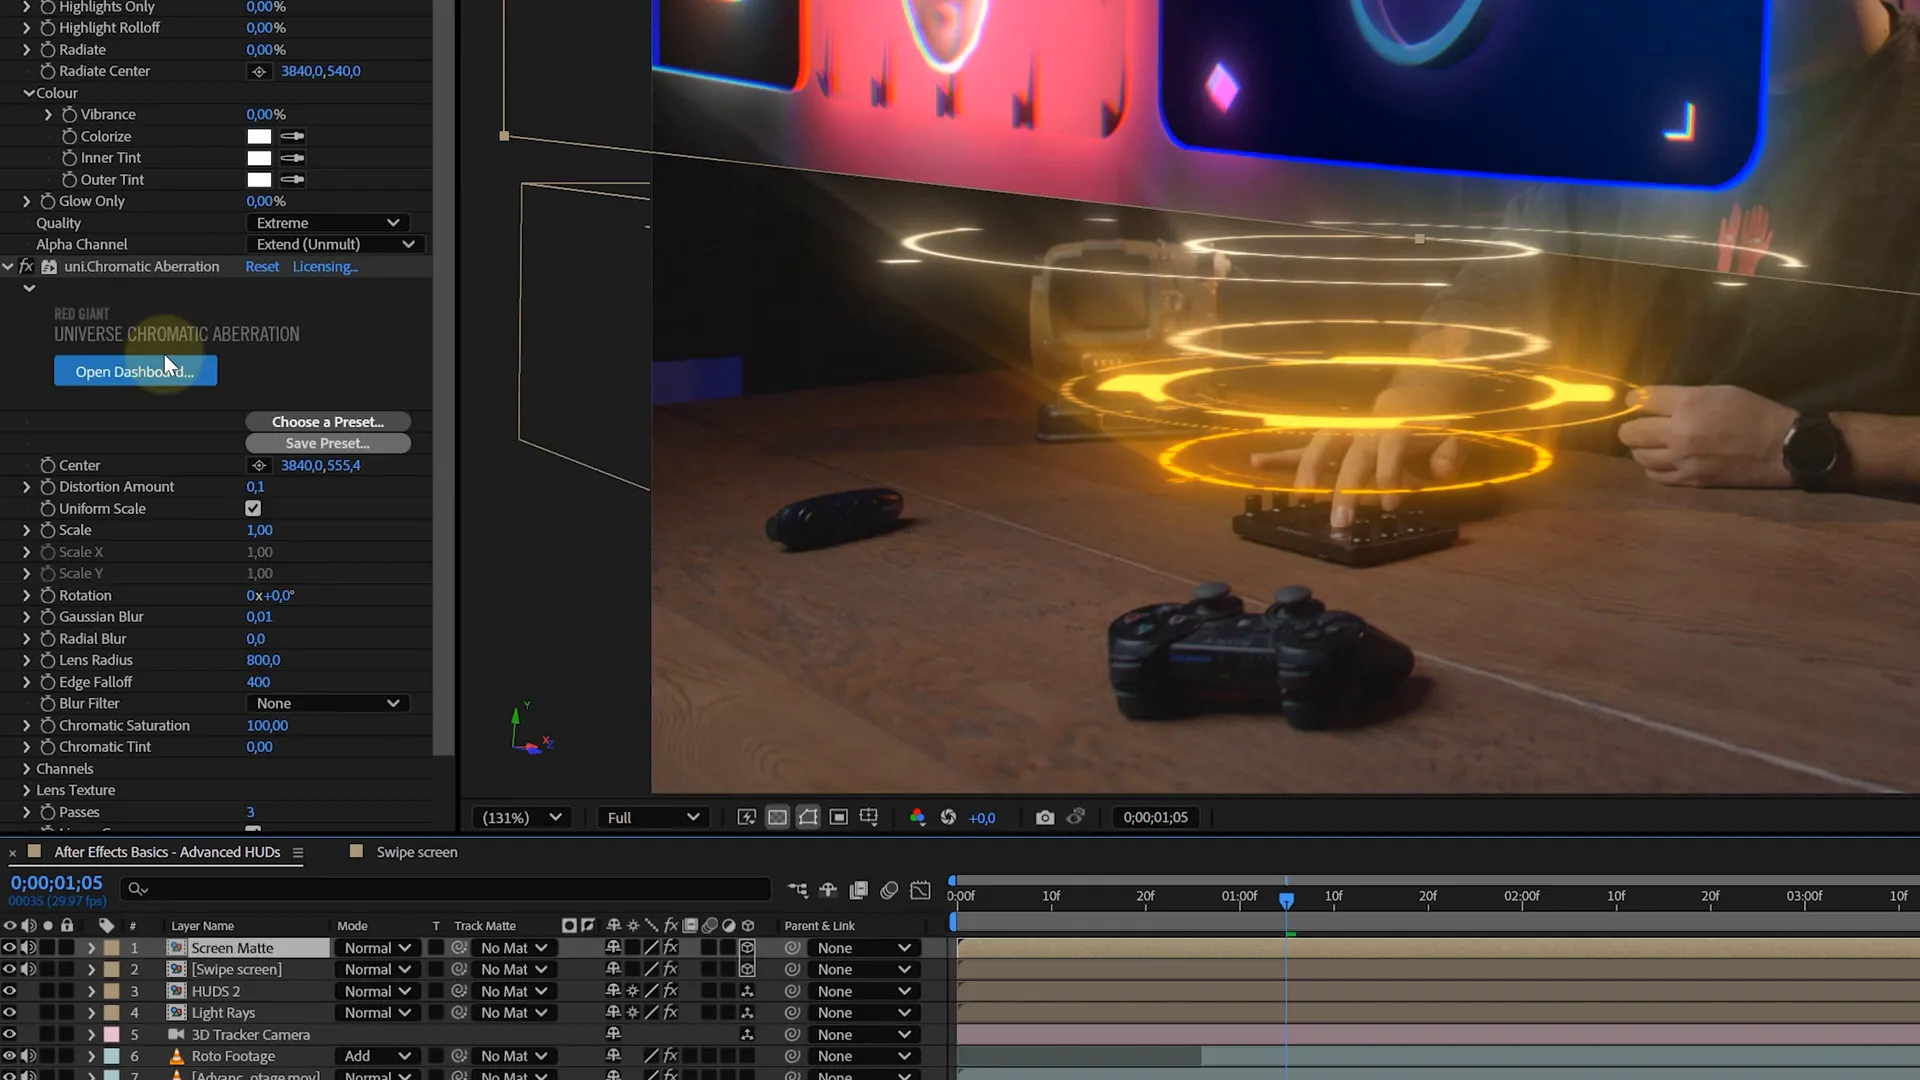
Step 11: Creating Swipeable Screens
Now, let’s create swipeable screens. Create a new very wide comp (e.g., 7680 by 1080), and drop in four video clips. Align them vertically using the Align tool and space them out horizontally. Add a null object and parent all the clips to it, then animate the null’s position to match your subject’s hand gestures.
Step 12: Finalizing Your HUD Effect
Enhance your screens with effects like CC Lens for depth, a subtle glow effect, and even chromatic aberration for an extra touch. To clean up the look of the screens, you can use a track matte to remove the edges and make it all look a lot cooler.
Conclusion
And there you have it! You’ve created a futuristic cinematic HUD effect ready to go viral. Don’t forget to add sound effects to really sell the vibe. If you want more tips and tricks on everything there is to know about After Effects, keep exploring and experimenting!
More tips and tricks on video editing Ranjan Editz