
Welcome to the world of Alight Motion, where you can create mesmerizing 3D zoom animations that enhance your video projects. In this tutorial, we will dive deep into the step-by-step process of creating these animations, ensuring your videos stand out and captivate your audience. Let’s get started!
Table of Contents
Step 1: Deciding on Your Animation’s Placement
First things first, you need to determine where in your video you want to create the animation. It’s crucial to listen to your chosen song a few times to pinpoint the moments where the lyrics will appear. This will help you set your beat markers accurately. For example, I’ve already added three beat markers to my project, as I plan to use three images. Depending on your needs, you can adjust the number of images accordingly.
Step 2: Importing Your Photos
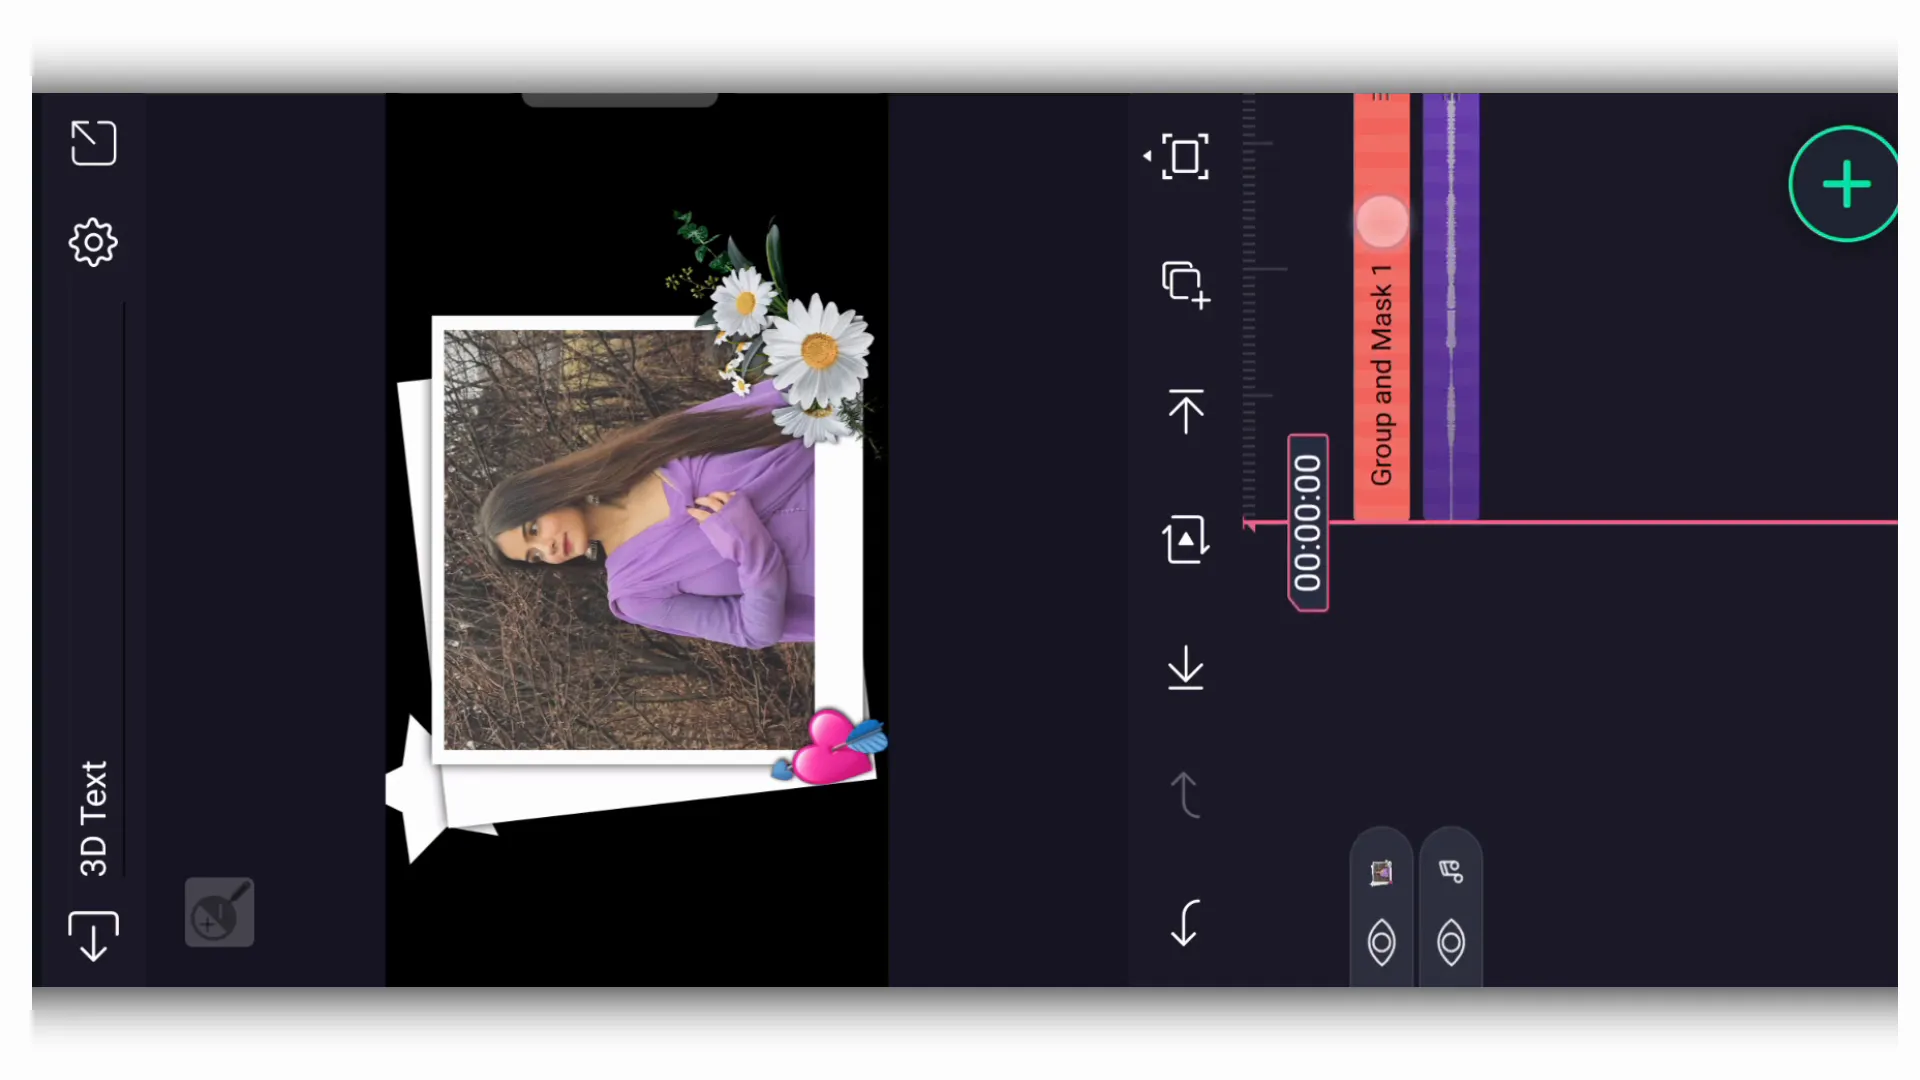
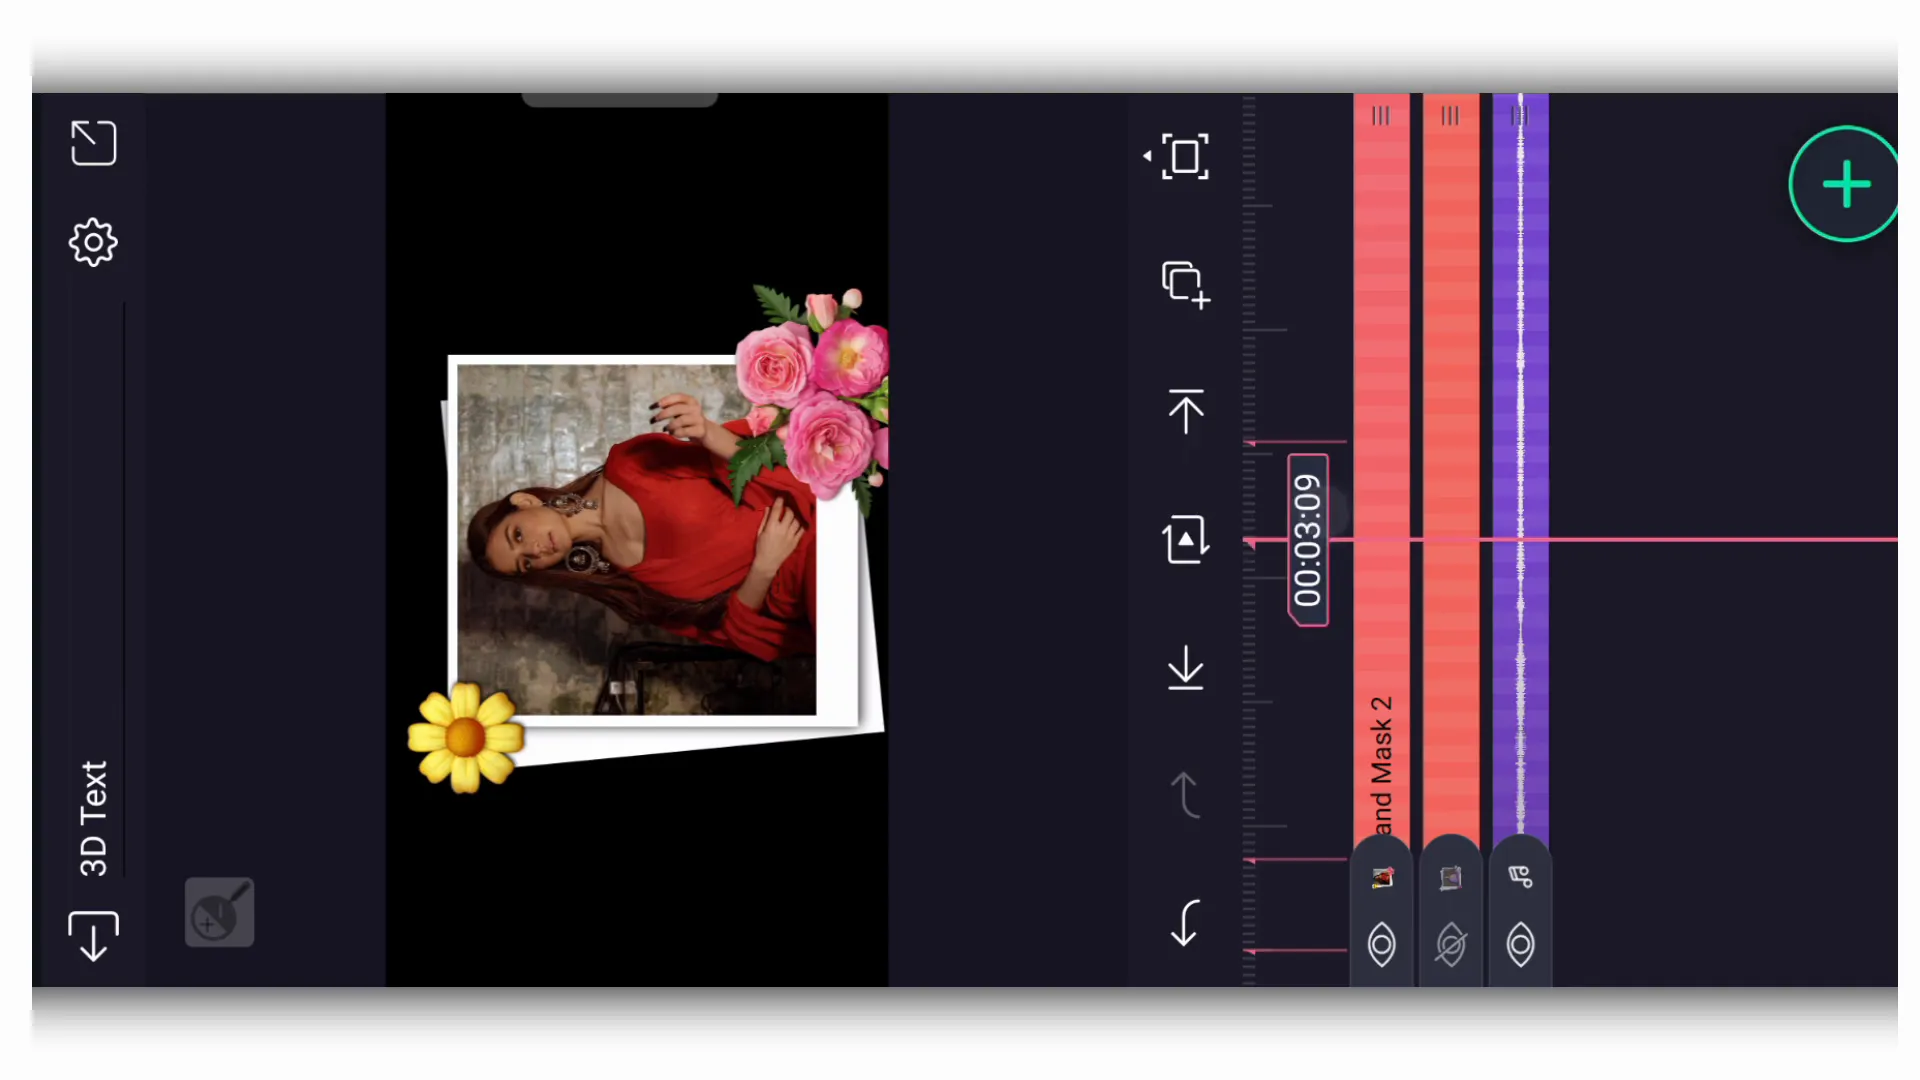
Once you have your beat markers in place, it’s time to import your first photo. You can also include backgrounds or emojis to enhance your visuals. After importing all necessary images, we will add a rectangle shape to fill the screen.
Step 3: Adjusting Layer Duration
After filling the screen with your rectangle, select all the image layers and extend their duration to the end of the video. This will ensure that they are visible for the entire length of the animation.
Step 4: Grouping Your Layers
Next, press the second group option to convert your layers into a group. This helps in managing your layers more effectively.
Step 5: Adding More Photos
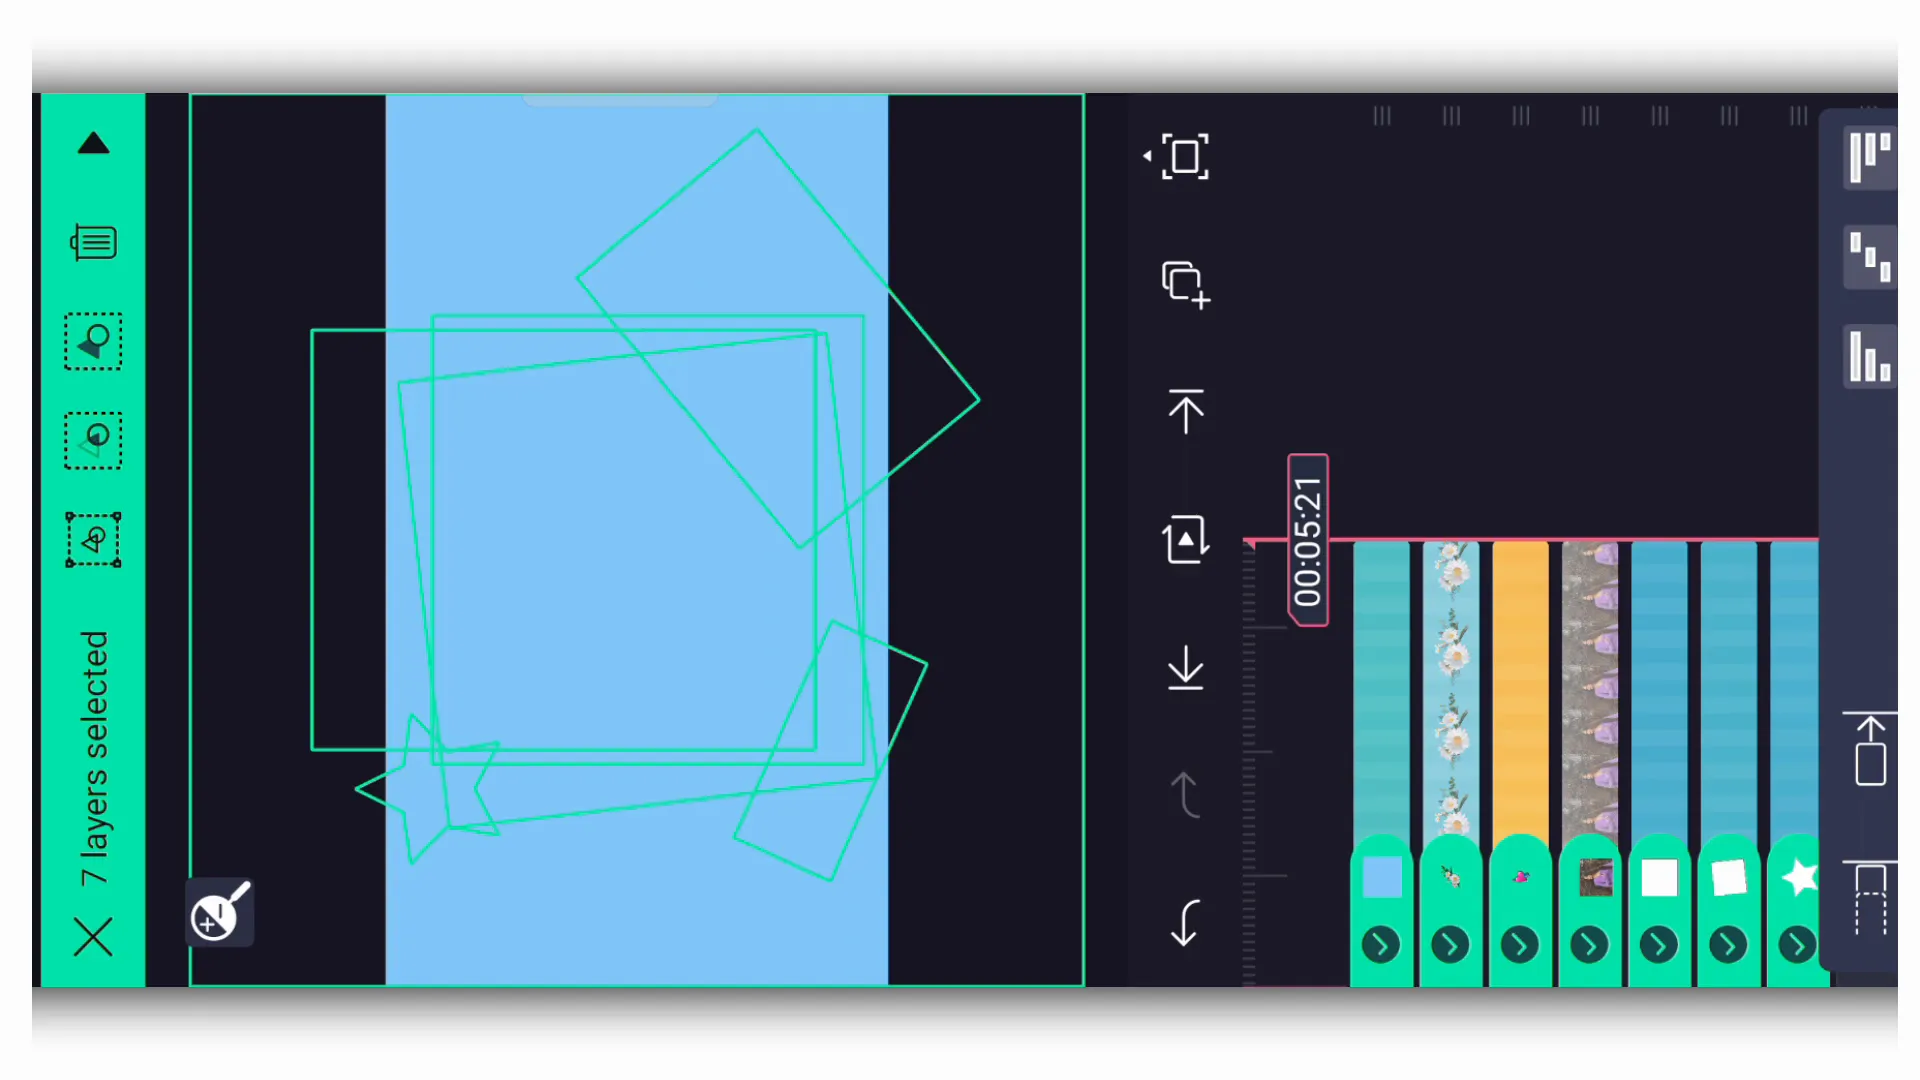
Now, let’s proceed to import the second photo. This should be placed slightly after the second beat marker. Follow the same process for importing as before. Once you’ve imported all three photos, we will move on to adjusting their positions.
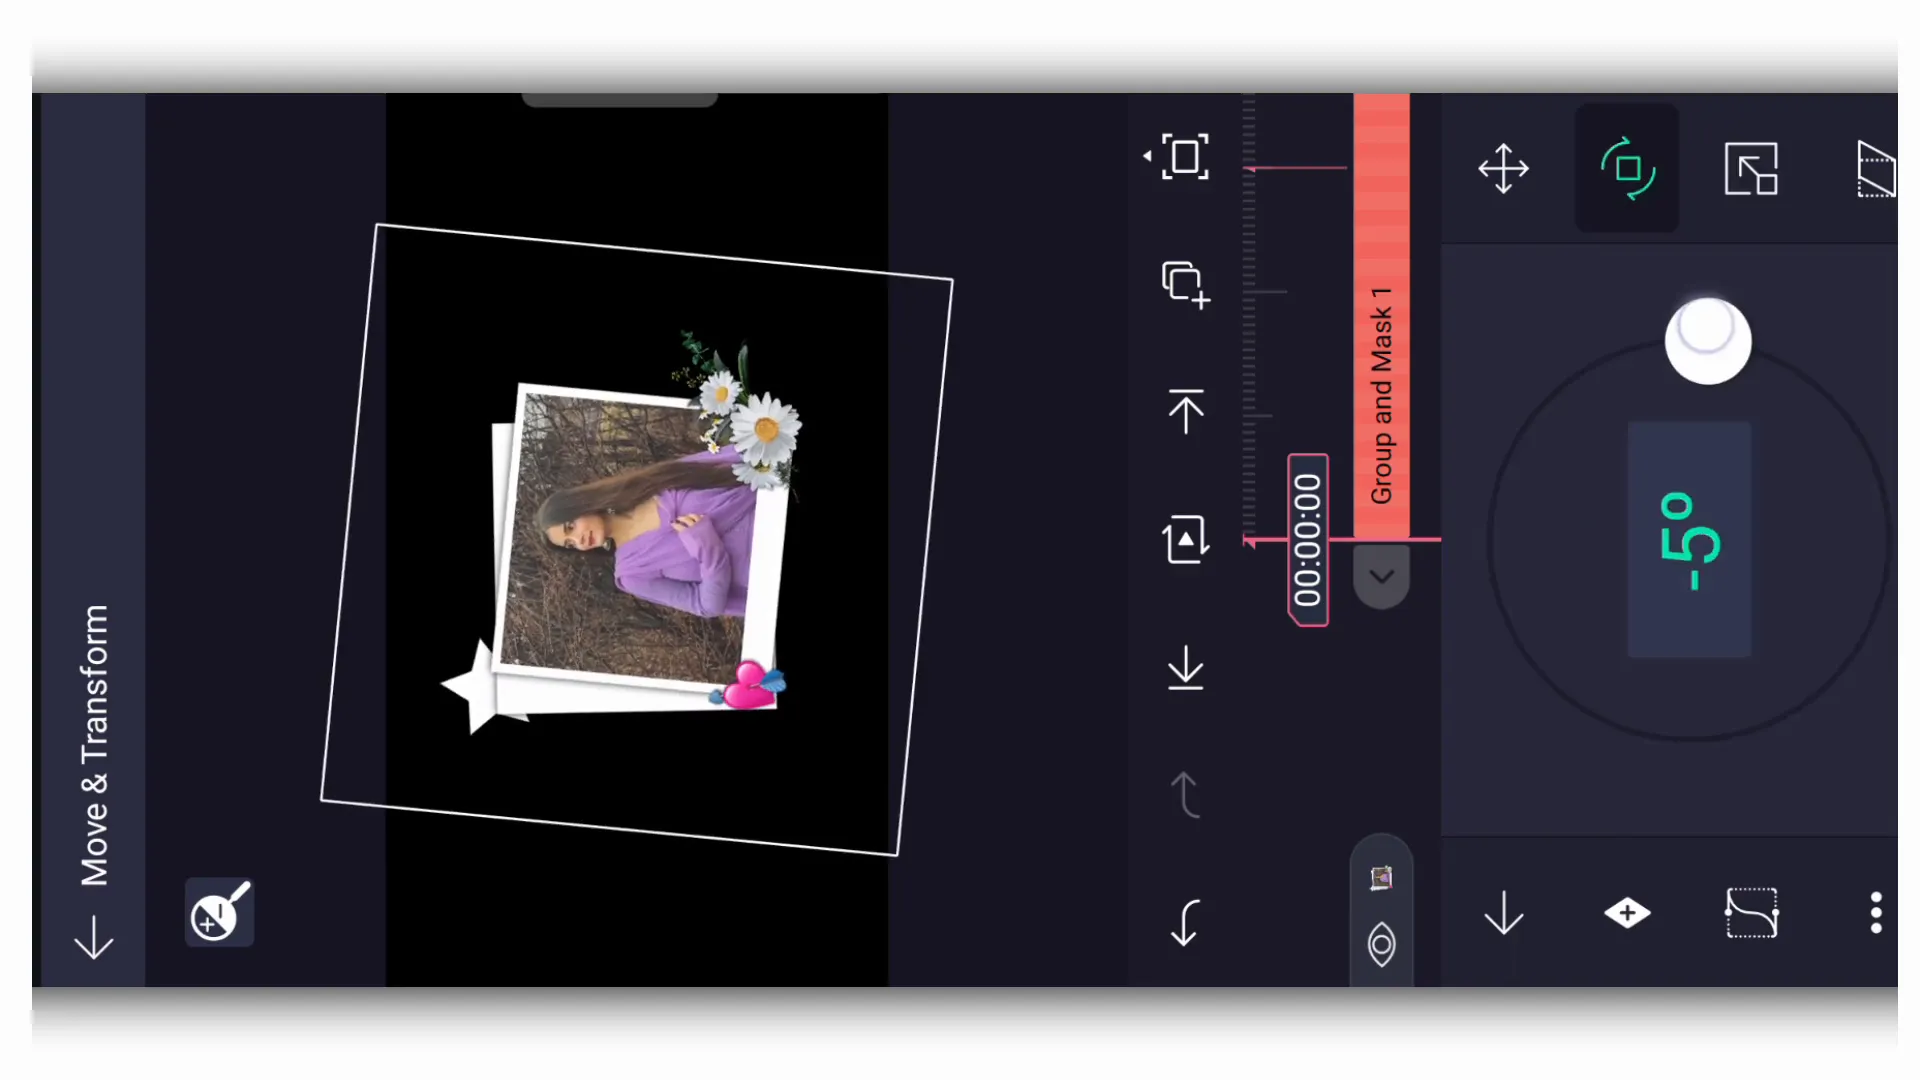
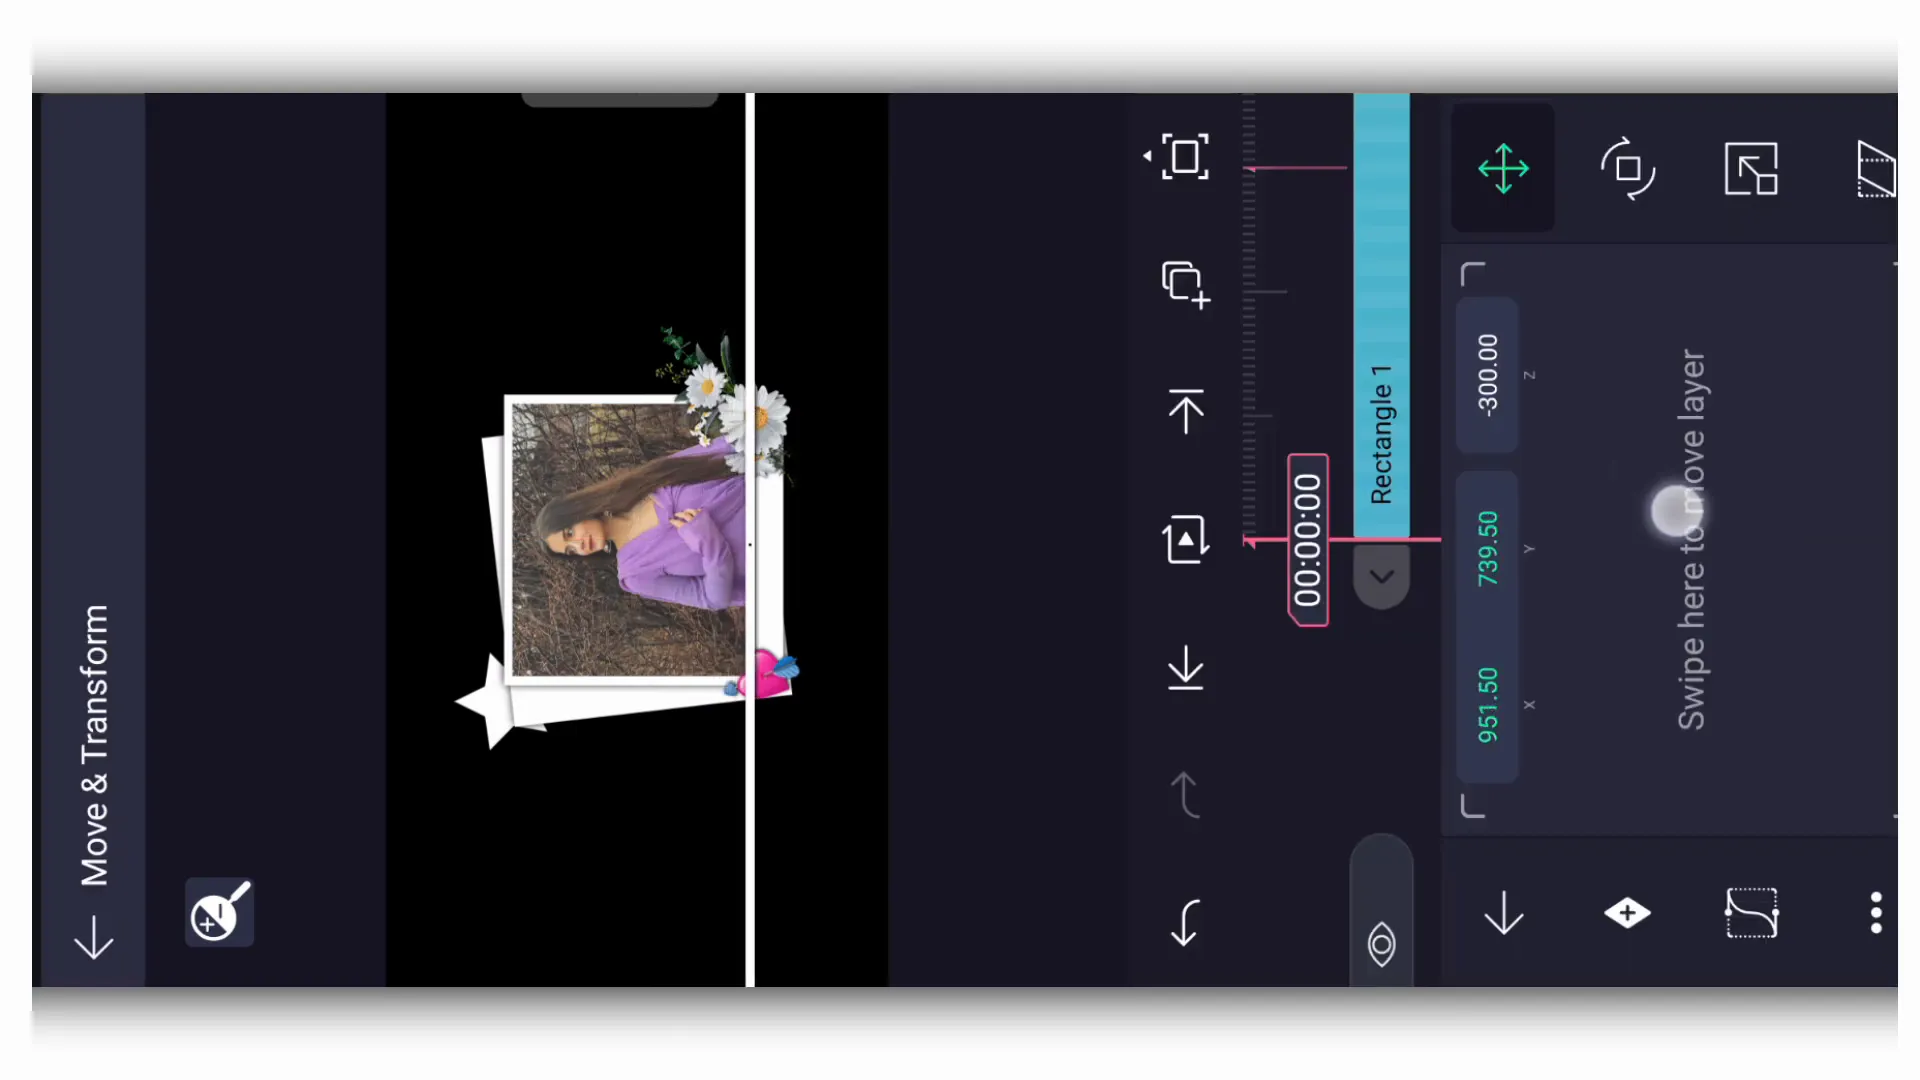
Step 6: Transforming Your Photos
For the first photo, navigate to the movement transform settings. Here, you can adjust the position and make any necessary tweaks to ensure it fits perfectly in your animation.
Step 7: Adjusting Rectangle Shape
Add a rectangle shape again and go to the edit shape options. Set the X-axis to 5000 and the Y-axis to 8. After this, go back to the color option and select white for the rectangle.
Step 8: Adding Shadows
Enable the shadow effect for the rectangle shape to give it a more profound depth effect. Adjust the shadow settings as per your preference.
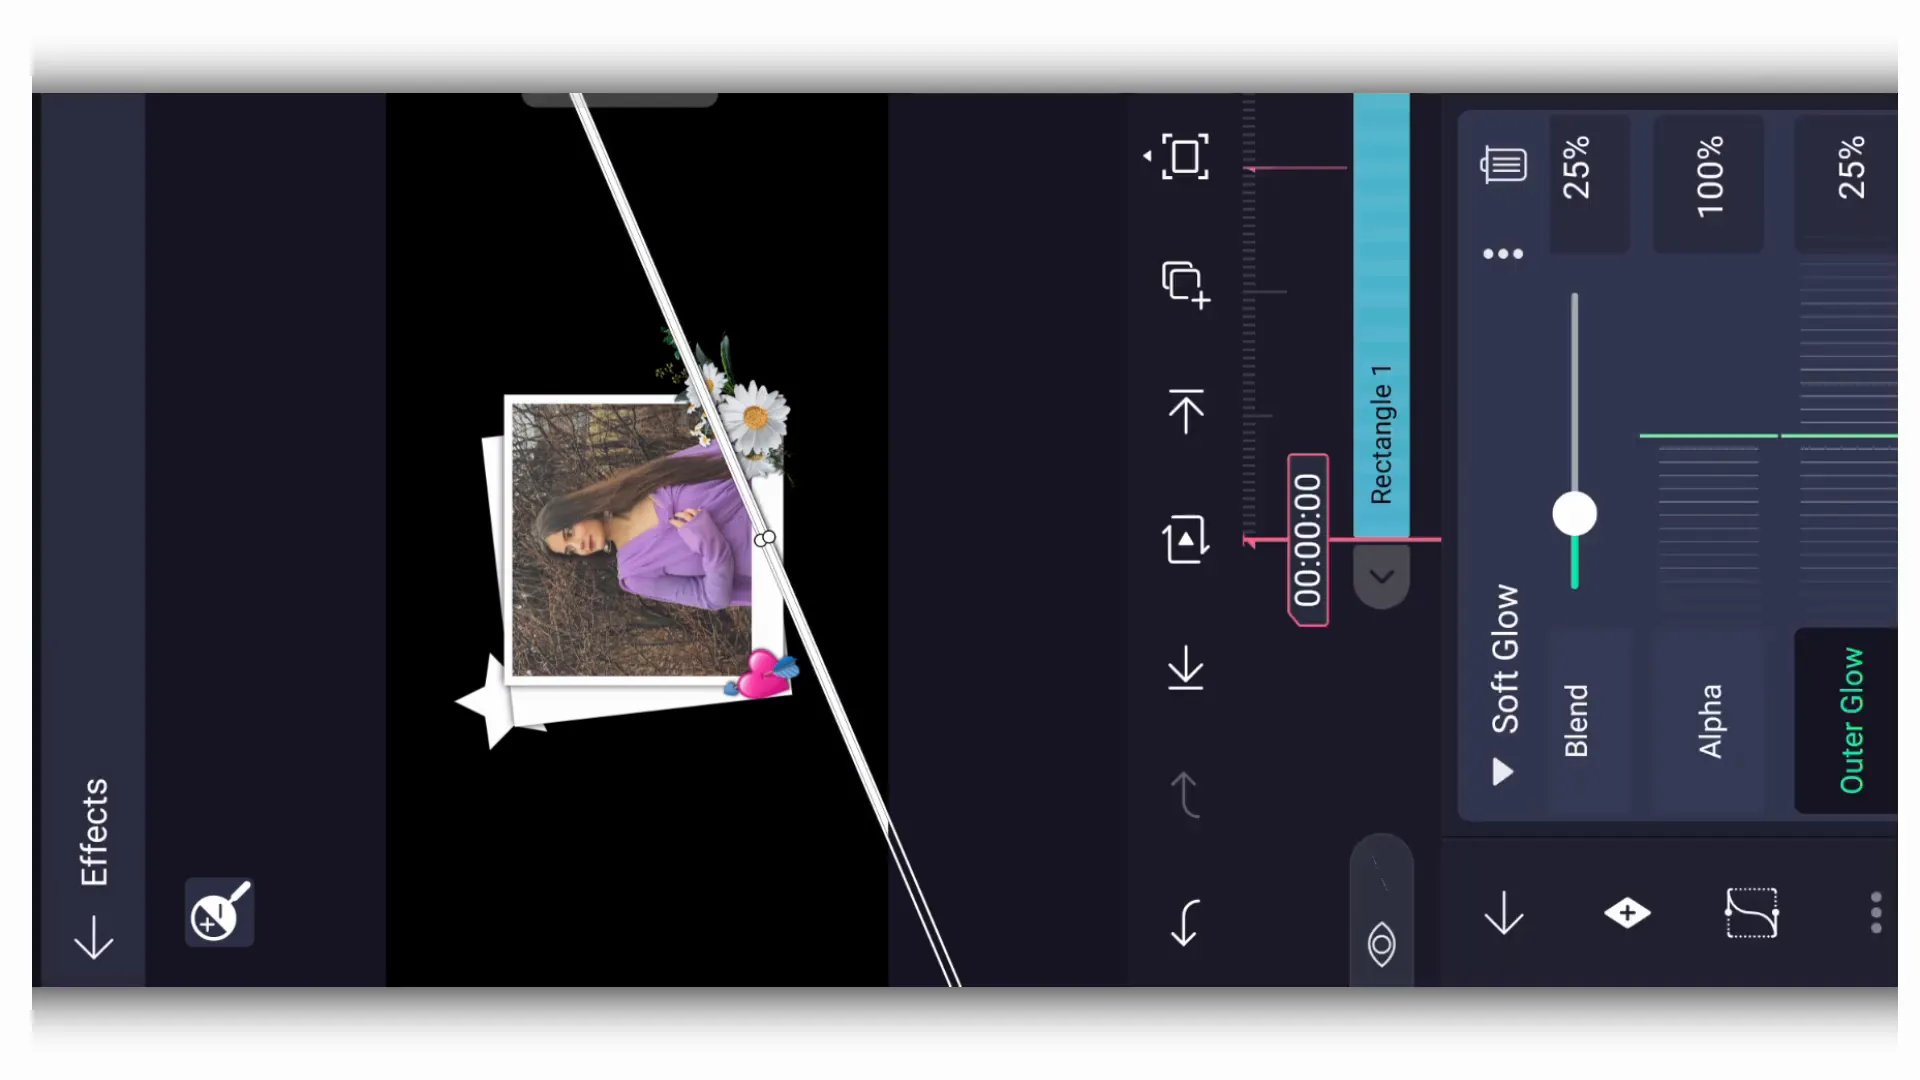
Step 9: Adding Effects
Now, let’s enhance our animation with effects. Search for ‘soft glow’ and import it with standard settings. Adjust the diffusion to 0.5 and the contrast to 50. This will give your animation a polished look.
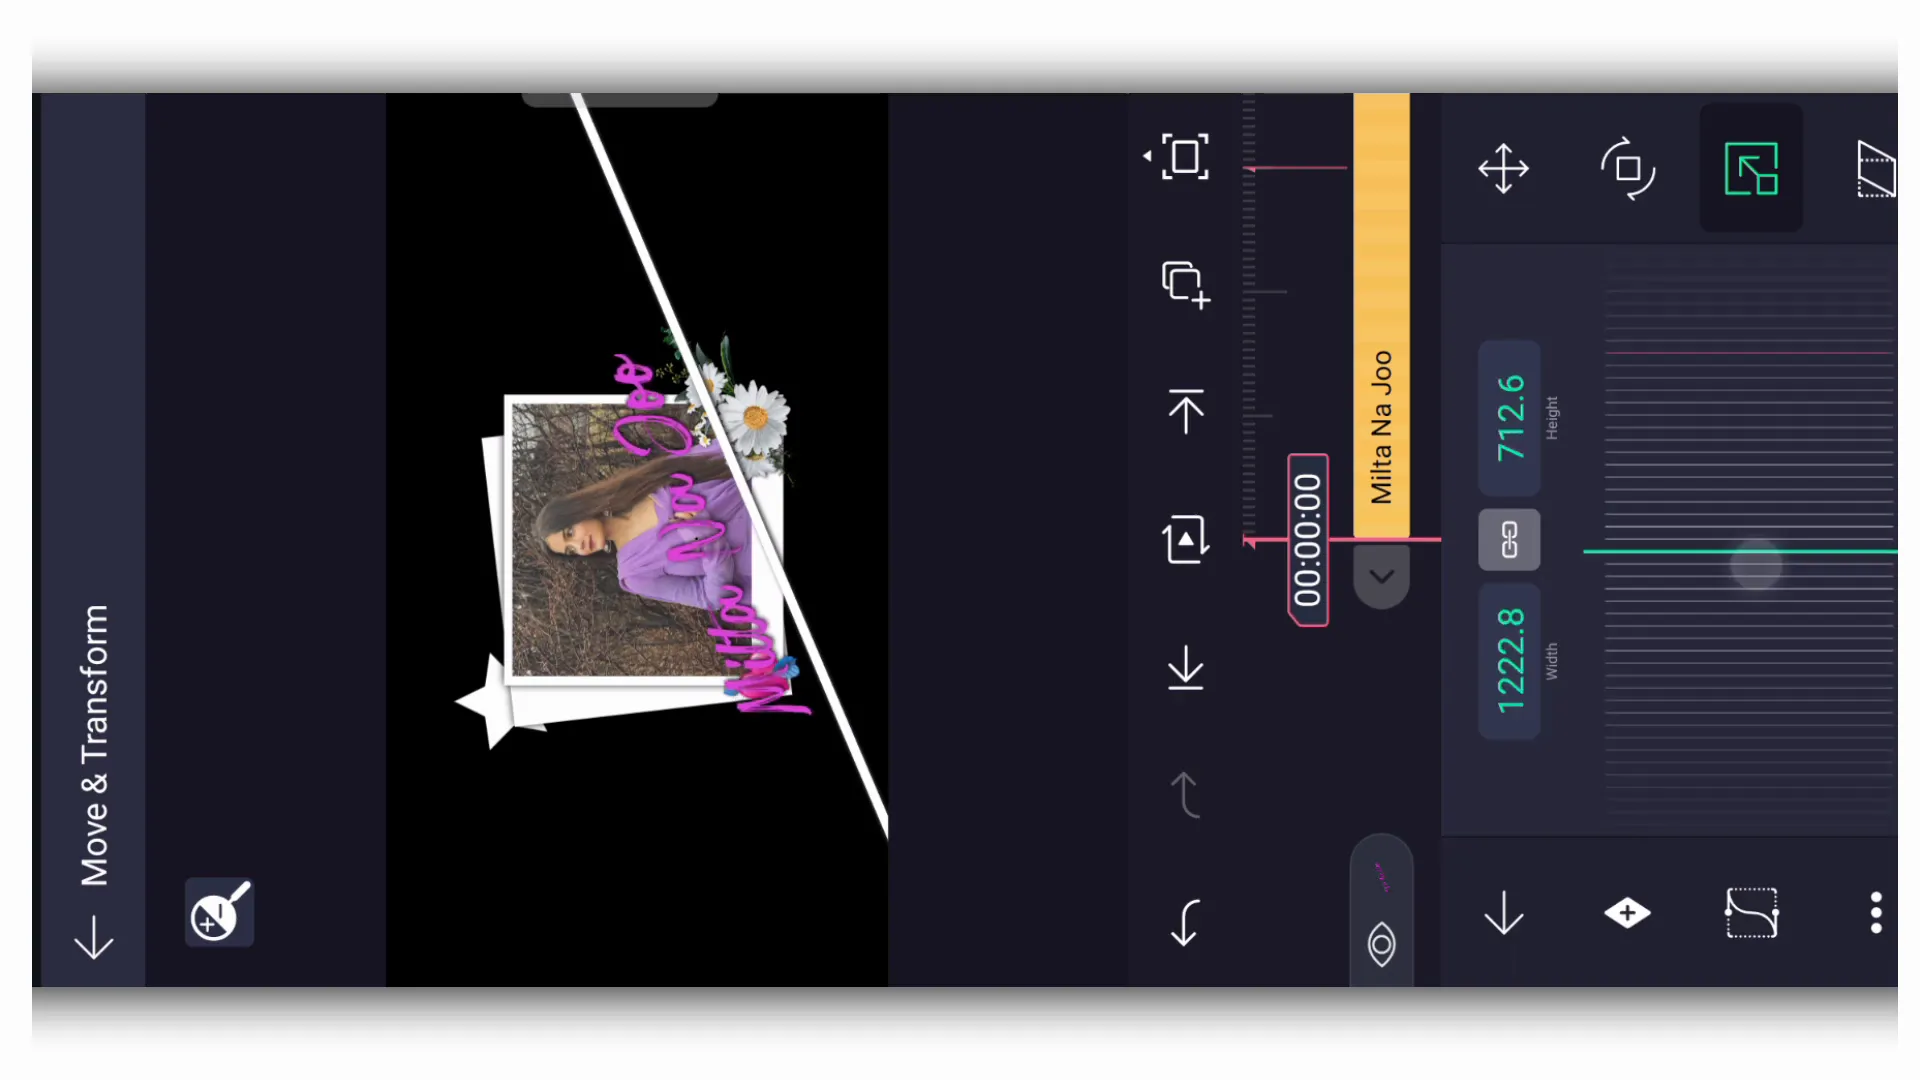
Step 10: Adding Text
Now it’s time to write your lyrics. Use the text option to add your lyrics, and ensure to enable the shadow effect for the text as well. This adds consistency to your animation.
Step 11: Keyframe Animation
We will now add keyframes to animate the lyrics. Go to the movement transform settings for the text layer and adjust the Z-axis to -3. Set the rotation to your desired angle to create a dynamic effect.
Step 12: Finalizing Your Animation
After you’ve set everything up, go back and ensure all layers are merged correctly. You can cut any excess duration from your layers to keep your animation smooth and seamless.

Conclusion
And there you have it! By following these steps in this Alight Motion 3D zoom animations, you can create stunning animations that will elevate your video projects. Feel free to experiment with different effects and settings to make your animations truly unique. I hope you found this tutorial helpful, and More tips and tricks on video editing, Follow Ranjan Editz